It is entirely possible to bang out a smoky eye in 10 minutes. Hand on heart, hair to the sky, I’m serious! — it’s totally true. And I know this because of a little something called “the disco nap.”
dis·co nap
/ˈdiskō nap/
informal
noun
- Sleeping when ya got something goin’ on later for which you need to get ready.
“I was about to go to the club, but I needed a disco nap to feel refreshed.”
When I’m getting ready to go out with my friends, and I know it’s going to be a loooong night, I have very clear-cut priorities. I devote less time to my makeup so I can devote more time to my disco nap.
I know, sacrilege! — but you gotta do what you gotta do. I know myself well enough. If I can’t squeeze in at least a short nap before leaving the house, I’ll be dozing off in da club by 11, what-what!

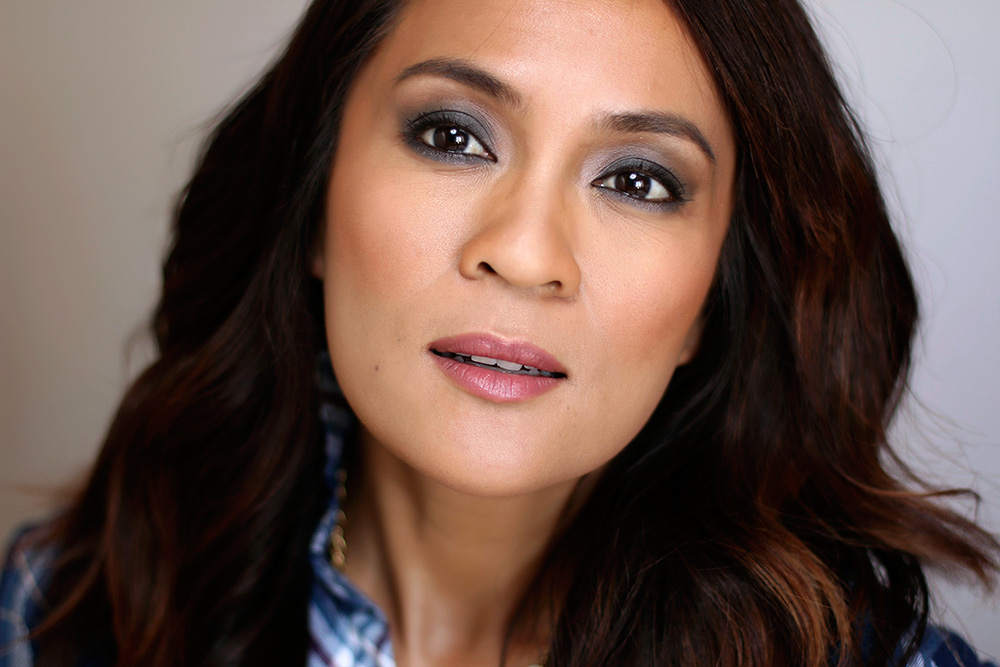
So my fallback look for late nights is this 10-minute smoky eye, and what I like most about it (other than the fact that I can crank it out pretty quickly) is that it doesn’t have to be perfect to still look pretty good. You don’t have to be perfectly detail oriented with the blending because it’s purposefully undone. In fact, the messier it is, the more ya look like a bad-@ss rock chick. Plus, if you are going somewhere for dancing, odds are the lights will be low anyway, so nobody’s really going to be able to tell if you’ve got like four colors transitioning into a gradient in your crease.
Save yourself the effort! — and spend less time doing your makeup, so you have more time to disco nap. 🙂 Zzzz…

Now let’s get started, shall we? First things first, gotta get the gear.
What you’ll need…

- A brow filler
- A matte brown cream shadow
- A black kohl pencil
- A shimmery black eyeshadow
- A matte brown eyeshadow
- A shimmery, peachy beige eyeshadow
- Under-eye concealer
- Mascara
Now for the step-by-step…
1. Fill in your brows
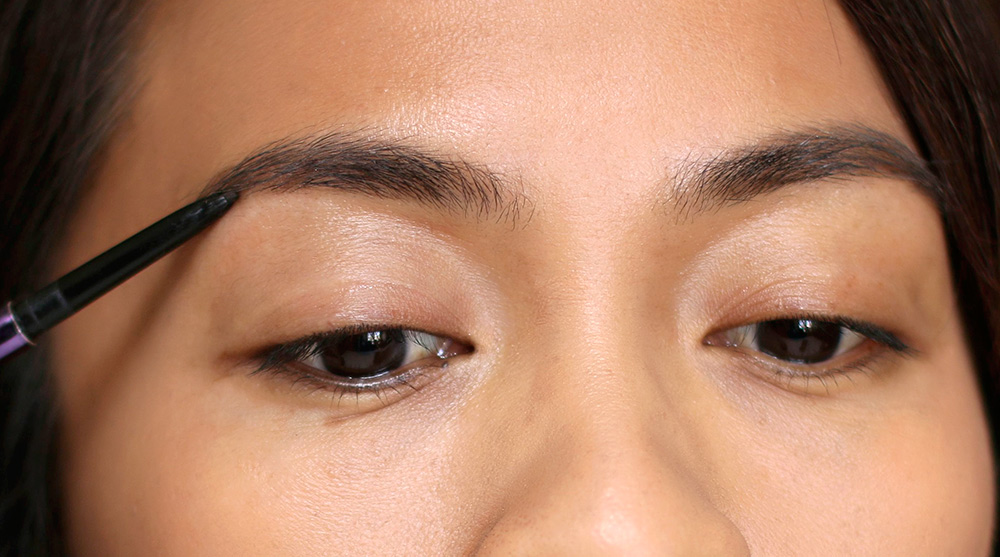
I like to start by doing my brows first because they’re sort of like my roadmap. Once they’re done, I think it’s easier to gauge how far I want to sweep my shadows out.
Also, particularly when doing smoky eyes, and this is doubly true when using black eyeshadow like we’re going to use here, I think it really helps to do your eyes first, then clean up any makeup that drops down under your eyes (because there will be some fallout, especially if you’re working quickly).
So set aside your base makeup for now. We’ll come back to it a little later.
2. Apply a matte brown cream shadow
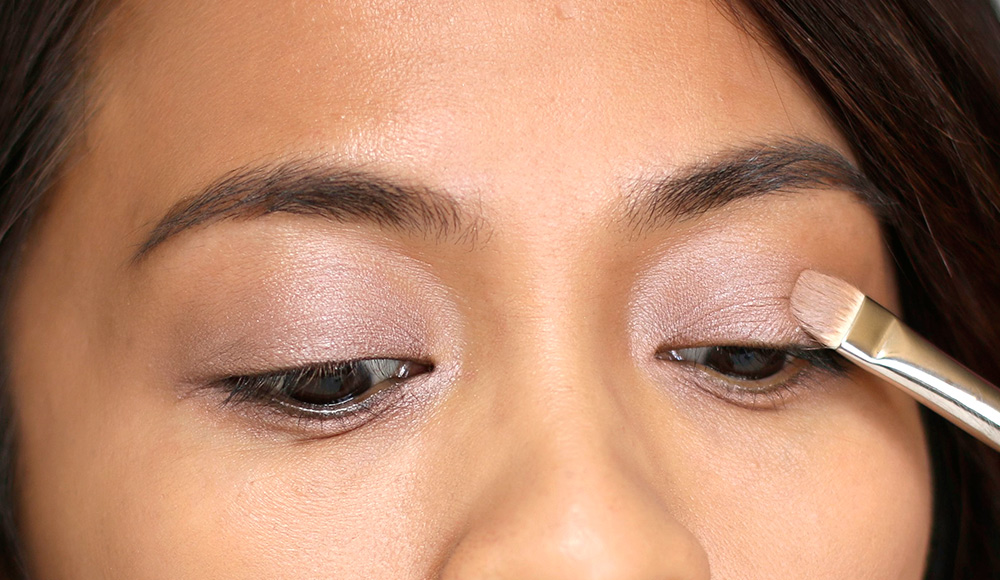
Now, let’s build out the look by applying a matte brown cream shadow all over our lids from lash line to brow bone. I use a flat brush to apply the shadow, then blend out the edges with a tapered blending brush, but fingers work well too.
In this instance, the matte brown cream shadow accomplishes two things. First, it’s going to prime our lids for the powder eyeshadow we’ll be layering on top, and second, it’s going to be our transition crease color.
If your lids are uber-oily, you may need the help of a primer. If so, start by applying a thin layer of your favorite colorless eye primer, upon which you then pop your matte brown cream shadow on top (at least for the time being, my lids are on the drier side, so I skipped this part).
3. Apply a black kohl pencil

Next, line your upper and lower lash lines, and your water line, with a black kohl pencil, and smear the pencil all over your mobile lid (the part that moves when you blink).
Note: it doesn’t have to be neat at all. In fact, you’ll know you’re doing it right if you look completely insane at the end of this step.

4. Apply a shimmery black eyeshadow

Now, load a flat eyeshadow brush with a shimmery black eyeshadow (I just reused the same brush I used for the matte brown cream shadow a moment ago), tap off the excess, and lay that color directly on top of the black kohl liner on your lids. Again, it’s OK if you do it haphazardly, and it looks totally messy at this point. Don’t worry about it (obviously, I didn’t, because it looks like a two-year-old went to town on my lids, haha).
When you’re done with your lids, run that same brush along your lower lash lines using whatever leftover product remains on the brush.
By the way, the shimmer in the shimmery shadow a crucial component. I’ve just found that it’s a lot easier to blaze through the blending when you’re using a shimmery or glittery shadow. I think mattes just take longer to blend, and since we’re working under the clock here, shimmer it is!
Note: if black feels like too much contrast for you, try a shimmery gray or shimmery gunmetal instead. Either one will totally work, too.
5. Blend the black liner and shadow

OK, here’s where the whole shebang starts coming together. 🙂 Grab a tapered blending brush (I used the same one I used earlier to blend out the matte brown cream shadow), and blend the shimmery black eyeshadow into the black kohl.
I start with small circular motions along the lash line, and then use a windshield wiper back-and-forth motion as I move up into the crease.
Now, run that same brush gently along your lower lash line, and don’t forget to connect your lower lash line to the outer corner of your lids, because you want that color to wrap around the eye completely.
6. Apply a matte brown eyeshadow

Now you’ve got a workable smoky eye, more or less, and you could probably stop here, coat your lashes with mascara and peace out, but what I like to do here is add an extra touch of matte brown shadow, applied with a domed blending brush, right along the edge of that black eyeshadow…
I think it helps soften the transition between the darker black color and the lighter brown. I also like to run it along the lower lash line as well to get more gradient action going on down there.
7. Apply a peachy beige eyeshadow

One other little extra touch I’ll do (if time permits) is add a highlight to the brow bone and the inner corners with a peachy beige eyeshadow. It just opens up the eyes a bit more and makes ’em look big and bright.
8. Clean up any fallout

Grab a makeup wipe, and use it to clean up any fallout under your eyes or on the tops of your cheeks, but be careful not to wipe away your smokin’ lower lash line.
9. Conceal those dark circles (if you have them)

Hide your dark circles with concealer, and bring the concealer just up to the edge of your smoky lower lash line. To soften the transition, take a Q-tip, and gently run it along the edge of the line. You want that edge to look nice and blurry, and not too sharp.
Now, here’s the point in the process when I usually like to do my base makeup…
10. Apply mascara

It’s the home stretch! Almost done. Now just add mascara to your upper and lower lashes and, if you feel so inclined, falsies, but this time, for the sake of disco naps and all things holy, I left them out.


And there you have it! — your 10-minute smoky eye. Done and DONE. You did a wonderful job. 🙂
Products used
- Urban Decay Brow Beater in Dark
- MAC Paint Pot in Groundwork
- Rouge Bunny Rouge Feline Gaze Eye Khol in Salome
- NARS Eyeshadow in Night Clubbing
- Urban Decay Naked Palette, Eyeshadow in Buck
- NARS Eyeshadow in Night Star
- Sephora Bright Future Gel Serum Concealer in Pecan Pie
- Chanel Le Volume de Chanel Mascara in Black
I know you can do this — YOU TOTALLY CAN! And if you do give it a try (which you should do), please send me pics (or tag me on Instagram @karenmbb). It makes me so happy to see your makeup in action. Plus, it’s much nicer when I can put a face to a name, you know? That way I really feel like we’re talking to each other!
Your friendly neighborhood beauty addict,
Karen
P.S. You know what I realized today…? I realized that I haven’t gone swimming once this entire summer — not once! — and I live literally 3 minutes away from the neighborhood pool.
Granted, it’s not heated, and I’m a big baby when it comes to water temperature, but I can’t believe that over the course of the entire summer I haven’t experienced that feeling of sweet, sweet freedom and weightlessness even once.

I guess I could go right now…and I just might if the thermometer hits the 100-degree mark (it’s reading 93 now).
You know what I really miss though? I miss swimming in warm oceans. If you live near a beach where you can actually get in the water, you’re so lucky!
Here in Northern California the water is cold and murky (and filled with big sharks!). It’s funny living out here sometimes because a lot of people think that just because it’s California, we’re at the beach all the time, but not a chance. The beaches here are usually cold and windy, and I’m not the biggest fan of wetsuits…
When was the last time you went swimming? Have you gone at all this year?
Pretty! I will have to try this, but I almost always look crazy after trying smoky eyes, still can’t seem to master it. I have lived on both coasts(east and west) and now am on the gulf shores, and I agree it always seemed colder on the west at the beaches. I do miss Oahu though, I think I may have lived at the beaches instead of my home there lol.
Hey Metta!
How long did you live on Oahu? It’s been ages since I’ve visited and I miss it!
We lived there for 5 yrs. I miss it so much! The weather, food, beaches! And I so miss Ala Moana mall, my husband doesn’t though lol..
I actually apply shadow in a similar way, for all looks. I love a smokey, blended look – I didn’t really know how to blend until I started reading this blog. I like how soft the smokey look is, and I like how you can take loud, bright colors, and make them look wearable with good blending. Great post!
Hi Katherine,
Thank you so much! I love a smoky blended look too; it’s so easy but looks more complicated than it really is. 🙂 Hope you had a nice Monday. I just got back from an evening walk and now it’s time for me to have a late dinner.
I love a smokey eye. This one is so pretty!
I don’t swim very well, so I don’t go to the pool. The Oregon Coast is usually really windy and the water is really cold. In fact, the water is actually colder in the summer than the winter, due to the way the currents run.
Thank you, Rachel. Ya know, I used to be afraid of the water and terrified of the ocean, believe it or not! I took swimming lessons as an adult and it was really helpful — gave me a lot of confidence and made me feel comfortable in the water. I can’t imagine going swimming on the Oregon coast though. I’ve heard that some people surf up there, which is CRAZY to me.
How was your long holiday weekend? Did you and your family do anything fun?
I’m not afraid of the water, but my parents didn’t swim, and I didn’t get many lessons as a kid because we moved around so much. My form is not pretty.
We just stayed at home this weekend and got some things done around the house.
WHAT is that brush you’re using for the under-eye concealer? I am so intrigued! I have an RT brush that looks similar but way bigger and not as smooth-looking.
Hi Elizabeth!
It’s a brush by Too Faced; I’ve had it for a while now. I think they sell a similar one in their Pro-Essential 5-Piece Brush Set:
https://www.toofaced.com/p/brushes/pro-essential-teddy-bear-hair-brush-set/
Unfortunately they don’t sell it separately. It Cosmetics makes one that’s similar, but with less of a slant. I use it all the time for concealer and like it:
http://www.ulta.com/ulta/browse/productDetail.jsp?productId=xlsImpprod5770313
HTH. Let me know if you have any other brush questions!
Thanks for that tutorial, I needed some fresh ideas for a smokey eye, I am definitely going to try it!
I actually went swimming for the first (and most likely the last) time this summer last Sunday. It was in the pool but it felt amazing!
Thanks Karen, I just love ur blog…Keep up the good tips, ideas I love it!! I will try to achieve this look.
Your Step 3 looks better than the last smokey eye I tried. And when I zombie’d up one of the boys for Halloween a couple of years ago, I think it took me half an hour (and your Step 3 still looked better blended). HAHA! That said, I loved your tutorial and am relieved to see that it’s not necessary to panic when everything looks a mess. I just need to work on the blending. 🙂
It’s funny you say that about the pool. I was just saying yesterday that I haven’t been in ours ONCE this summer. And it’s in the backyard. Maybe today. We had a beach vacation so I got some warm ocean swimming in but at least one dip in the pool is required for the season. Thankfully it’s still very warm here. I laughed when I read your beach description. California Dreaming for most people doesn’t include cold, murky water or big sharks, I’ll bet. Nice work setting everyone straight! 🙂
Wow..thanks for the great post..i love smokey eyes..it motivated me to discover and read beauty blogs since 1 year.. will definitely try this 10min smokey eye look for sure..i’m so excited!
“Disco nap” haha
I definitely do that, just never named it 🙂
I will be studying this. I feel like this will help my smoky eye game, but I like a more elongated eye look… Hmmm
Hi Vanessa,
You can definitely make this look more elongated — just wing out the ends! It’s very easy to modify to whatever shape you like.
Woohooo, I’ll be trying it!
I went swimming in February in New Zealand and hopefully will again next week in the Mediterranean Sea in France, which is, by the way, pretty warm right now.
So, so pretty! My go-to quickie evening eye is similar, but more gray-browns than black. Great tips, I never think to use a smudged pencil as a base!
We went swimming last month while visiting family. I miss the pool at my old place, we’d go out and sit in the spa once the neighborhood kids had gone to bed! I say go for it, if it’s as hot up there as it is down here. 🙂
What a pretty look! I haven’t been out dancing in ages, so I’m not sure when I’d ever wear a smoky eye look. It’s in the mid 90s down on the peninsula, so I can’t imagine how hot it is up your way. Get thee to the pool pronto and take a swim for me!
It figures, just when I started to think about fall lip and nail colors and fall clothing we get a heat wave.
Thanks for this post. I often want to wear a soft smoky eye to work but I get bogged down by the details and use a lot of different products. A smoky eye is a lot to handle on a workday morning. I’ll be sure to try this technique.
I tried this look for work today, because while I love a smokey eye, there is no time for that at 5:30 am, and man do I love this. I was a little concerned before the blending, but then it all came together. Thanks for the look, Karen!