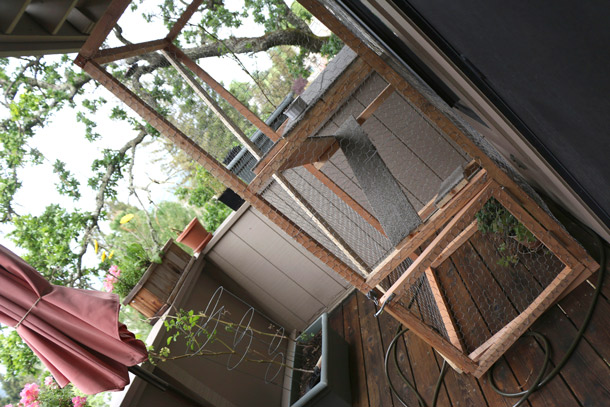
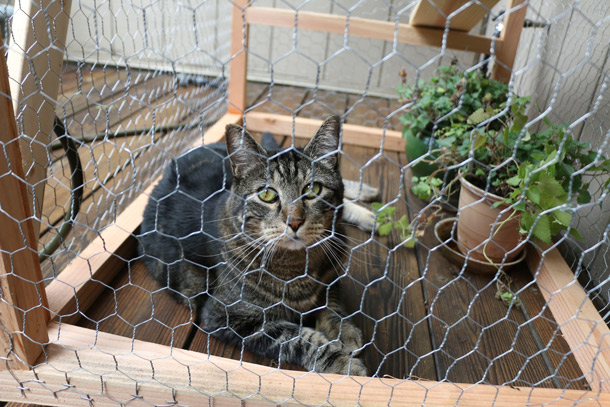
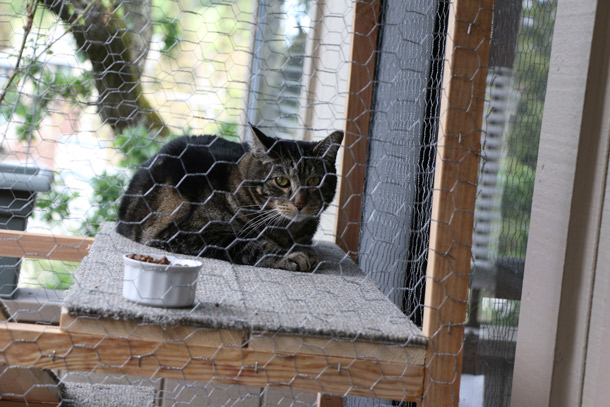
The hills of Novato are safer now that the new tabby command center/cat enclosure is fully operational. Cats can rest easier knowing that Tabs the cat is on patrol. 🙂
Here’s a closer look at the construction and the materials to build one for your feline employer.
Materials
-
Total cost was around $50, not including the main tools, which you may already have access to. In addition to a saw (El Hub uses a circular saw, but he says that a regular hand saw works too), you’ll also need a drill for this, a pair of gloves, safety glasses, a measuring tape and the following:
- 2 in. x 2 in. boards (we used pine, but cedar and redwood are also great) for the main frame.
- 1 in. x 6 in. boards for the walkways.
- Enough 2-1/2 in. phillips head outdoor rated wood screws to attach the 2 in. x 2 in. boards (a box of 50 should be more than enough for this enclosure)
- Staple gun
- Glue gun
- A section of remnant carpeting (you can usually find a remnant carpet store in your town that will sell small rolls of 5 or 6 feet of leftover carpeting for $15-$20. You could also use a soft fabric from a fabric store or artificial grass.
- A box cutter for the carpet
- A roll of 1 in. chicken wire (also called poultry netting)
- Wire cutters (for the chicken wire)
- Wood glue (not necessary, but El Hub says it helps to reinforce the screws)
- A gate latch and 2 door hinges
Steps
-
This is just a basic overview, because you’ll probably want to customize the size of everything to fit your needs. WARNING: Please wear gloves and eye protection.
- Measure and cut your 2 in. 2 in. boards for the base (4 pieces), top (same as the base), and the four tall corner posts (we made this one 6 ft. tall).
- Using your drill and screws, attach the first four pieces of 2 in. x 2 in. wood for the base, and repeat for the top (squeeze a few drops of wood glue between the ends before you screw them together).
- Attach the four tall vertical 2 in. x 2 in. posts to the corners of the base using one or two screws per corner.
- Attach the top piece to the vertical post corners using one or two screws per corner.
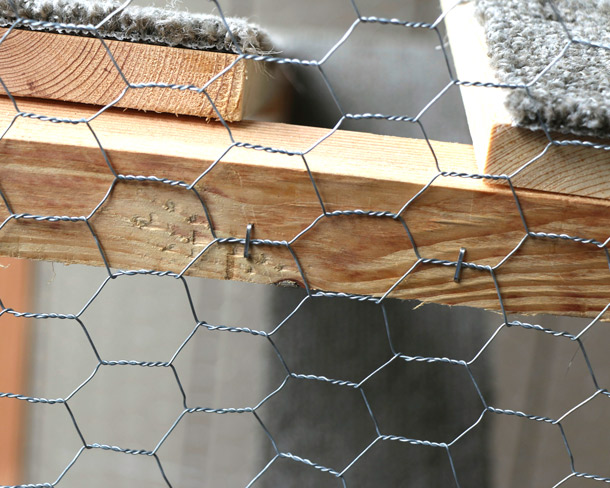
- Add a few horizontal cross posts using some of the 2 in. x 2 in. boards between the vertical posts to strengthen the whole structure and create platforms for the walkway planks to rest on.
- Measure the distance from some of the horizontal cross posts, and cut some 1 in. x 6 in. boards to use as walkways.
- Measure and cut enough carpeting to cover the walkways.
- Attach the carpeting to the walkways using the staple gun and hot glue gun (the glue works better than the staples for this, so use more of the glue, and just a few staples along the way).
- Attach the now carpeted walkway planks to the inside of the frame between some of the horizontal cross struts using small screws or nails.
- Once you have the basic structure of the frame built, measure and cut the chicken wire for each of the sides and the top. El Hub did this for me, and he says that it’s very important that you wear good, sturdy gloves and eye protection, because the cut ends of the chicken wire are very sharp.
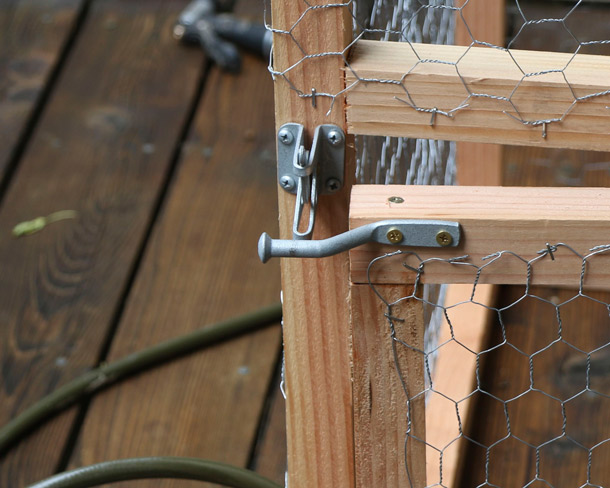
- Measure a space for a door, and cut four 2 in. x 2 in. boards (the door should be slightly smaller than the actual space so it fits, and the door can still open).
- Attach the chicken wire to the frame and the door using the staple gun.
- Attach the gate latch and hinges to the door and the frame using the screws that come with them (this step can be frustrating, but any kind of simple fence gate or door will do).
- That’s it! Introduce yo’ cat. 🙂

Your friendly neighborhood beauty addict,
Karen
Very nice job for LTC (Lieutenant Colonel) Tabs!
That is so awesome! My cat already roams like a wild lion because he is an outdoor cat but this is an awesome tutorial and awesome that Tabs gets to hang out and enjoy the view. Super cool!
I love it! Just sent the link to my parents because they’ve been thinking about something like thus for my kitty brother Houghton (Hoho)
Tabs! You are one lucky feline employer to have an office that plush and luxurious. 🙂
I bet my dad could put something like this together in no time! Now all I need is a cat <_< Do you think Tabs would like to go on holiday to Belgium or Switzerland?
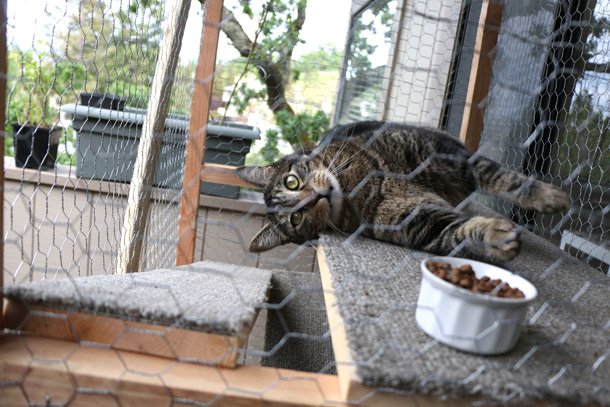
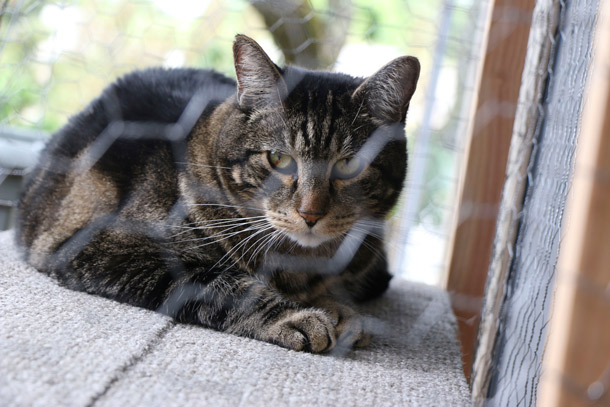
Tabs (and Karen)-thank you for sharing the first look of Tabby Command Center with us! It is an amazing view from there, and you seem relaxed and happy :).
Happy Meowday, T-money and K-dawg! <3
What a great idea! I don’t have a cat, but I’ll pass it along to some of my friends who do. Thanks for sharing.
Looks great! What are the overall dimensions of the enclosure? I have an old reptile cage I was thinking of repurposing for my cat!
Hi Rachel,
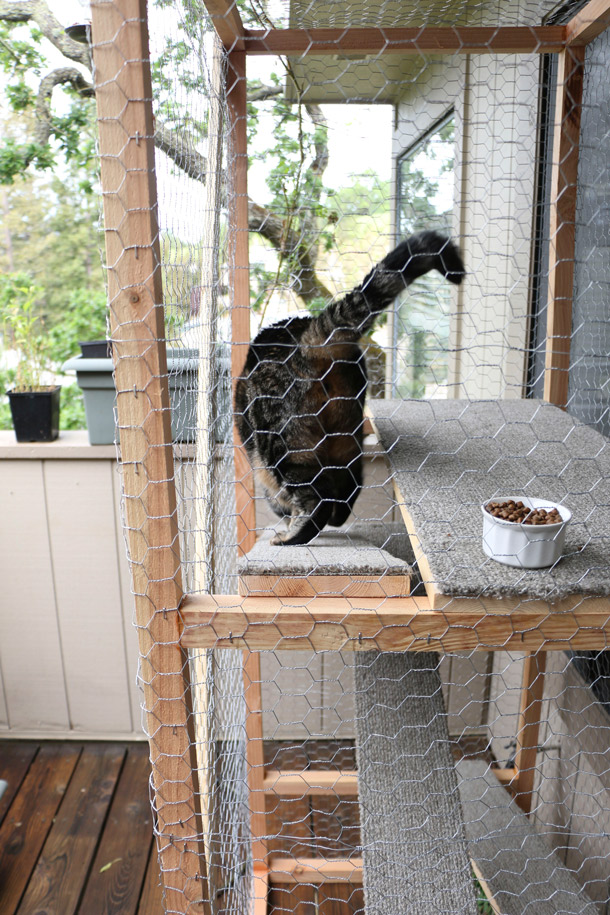
You should do it! This one is 6 ft. x 4 ft. x 2 ft. We wanted there to be enough room on the bottom for a few plants, and for it to be tall enough for Tabs to look out over the railing and see the hill.
He he- your cat lives in a zoo cage now? Funny! My cat is usually outside freely roaming and killing lizards, frogs and snakes (we are in Florida!). Sissi
Hi Sissi,
Don’t be silly. No, it’s not a zoo cage. He loves it, and I like knowing that he’s safe and sound, because we have animals around here that would love a tasty morsel like Tabs. Sadly, we see signs posted around the neighborhood by people who’ve lost their cats to coyotes.
And Tabs is very much a lover, not a fighter. 🙂
I like the added greens. Making the center feel like home, I guess.
I really enjoyed seeing the tabby command center in action 😀 This is a great idea, and I know my kitties would love a TCC of their own.
The command center is a great idea; the only thing worse than collecting and burying your cat’s remains after he’s escaped your yard and been eaten by a coyote… is explaining what happened to your 4th grader.
That’s a great way for him to go outside to see the bugs, birds and neighbors yet still be safe. Have a great week!
Tabby Command center looks great.. good way to hang out without being watched 😉
Man, Tabs looks like one contented kitty! I am impressed at how easily he walks in there! Do you ever have trouble getting him out again?