Like, no joke, I think I must be the slowest person on this earth when it comes to blending eyeshadow, because you know those really super blended eye makeup looks? — they take forever. Forever! — and by “forever” I mean between one and three hours from start to finish, especially if I do them intending to take pictures.
In other words, it takes freakin’ work, homegirl!
Sometimes I’m OK with that and all the blending and gradients, and I think it’s worth all the effort, but sometimes I’m not. Sometimes I just wanna throw a little makeup on my eyes and get on with my life already.
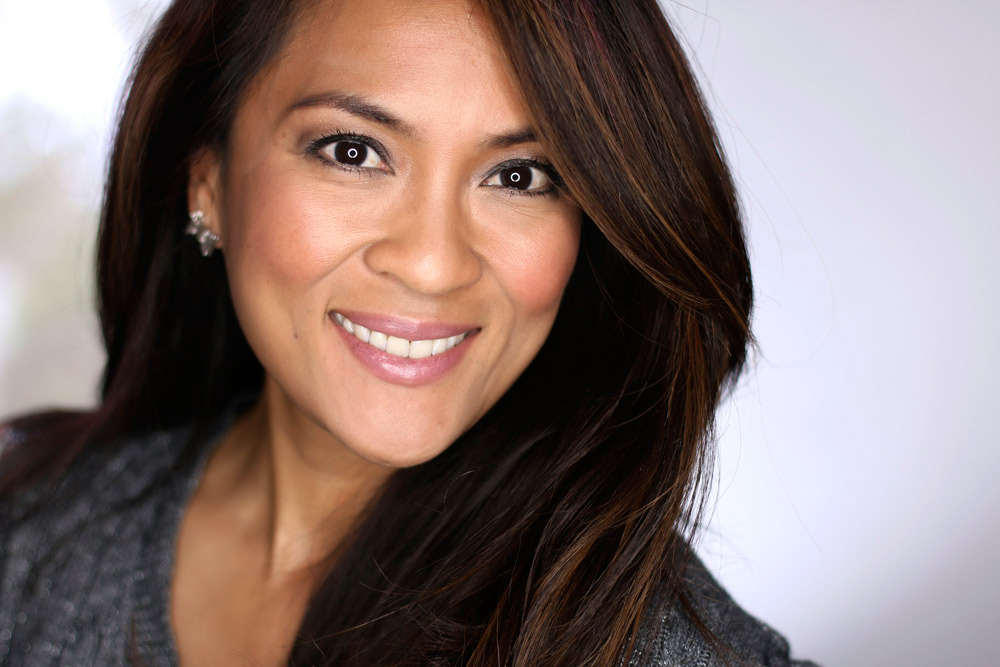
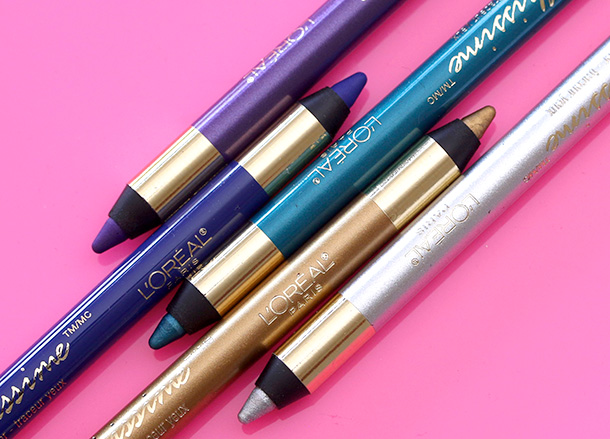
When that happens, especially when I also want to take pics and still want to look polished and not like I’m deliberately avoiding blending, I grab two or more similar eyeshadows in the same, or almost the same, color family, like two browns (one slightly darker than the other) or two close shades of almost the same intensity, like the warm brown I’m wearing in my crease in the top pic with a soft gold on my lids.
It’s kind of obvious, but sometimes I still forget that it’s just A LOT easier to seamlessly blend similar colors (like two similar browns) than it is to blend highly contrasting colors (like black and white) on completely opposite ends of the spectrum, so I can still create a buffed-out, blended eye look in a lot less time.
[Continue reading…]