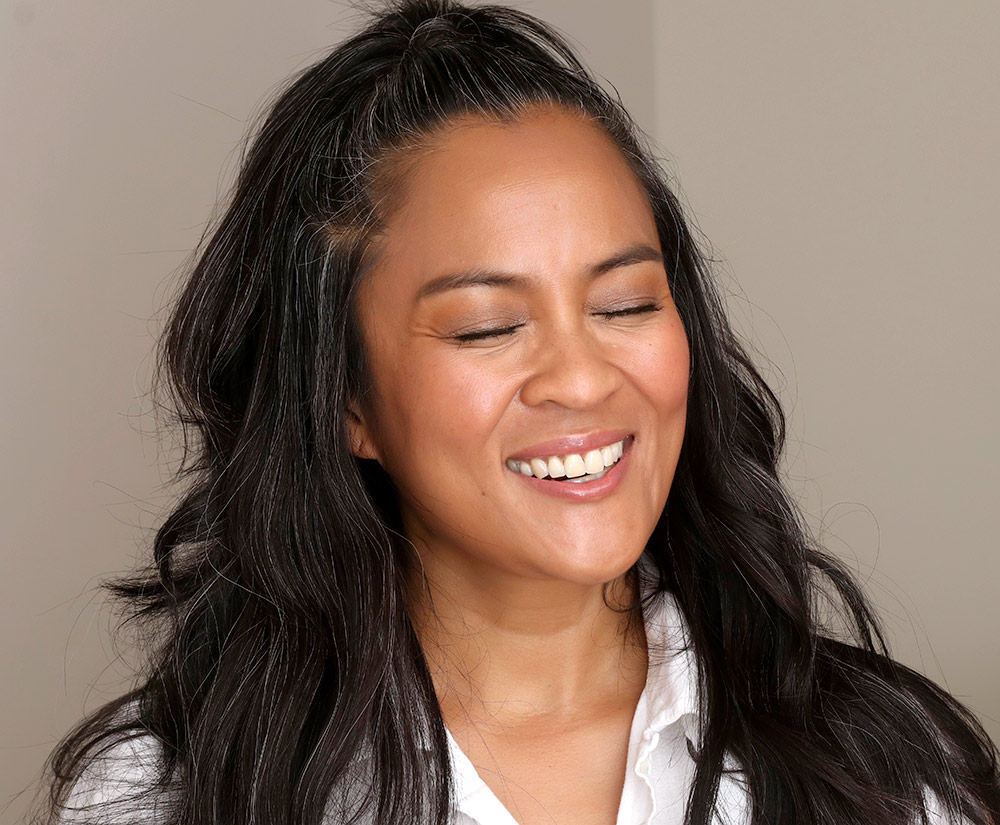
Heya! Happy Friday. How’s your day going?
Mine has been pretty good so far. Today I have the day off, my first in ages, and I have a few hours to myself while Connor is in school, and I almost don’t know what do. I’ve been working on the weekends for the past few weeks, and while I usually don’t mind keeping busy, I’ve decided that this is the year I’m going to fully embrace rest, so today I’m going to do my best to just relax.
All I’m allowed to do are things that help refill the well, so to speak, both mentally and physically. Good luck to me, LOL! There’s always something to do around here, and I’m already ticking off all the things I could accomplish with the extra time, like cleaning the bathroom, doing laundry, going grocery shopping, prepping meals for the weekend, getting ahead on writing for work, etc. etc. BUT, NOPE. Not gonna do it. Rest is the priority today.
I’m going to curb the need to be productive and just do fun things for me today. I’m going to watch a period piece (I’m thinking “Remains of the Day” or “The Age of Innocence”), order a Blue Barn salad, start a new book and maybe paint my nails if I’m feeling ambitious. Oh, I’m going to drink decaf Nespressos all day long, hahaha. I may even take a nap, GASP!

Love me a period piece
Let’s do this
Are you good about being proactive about your periods of rest? I’m so not. I’m trying to get better about it, though.
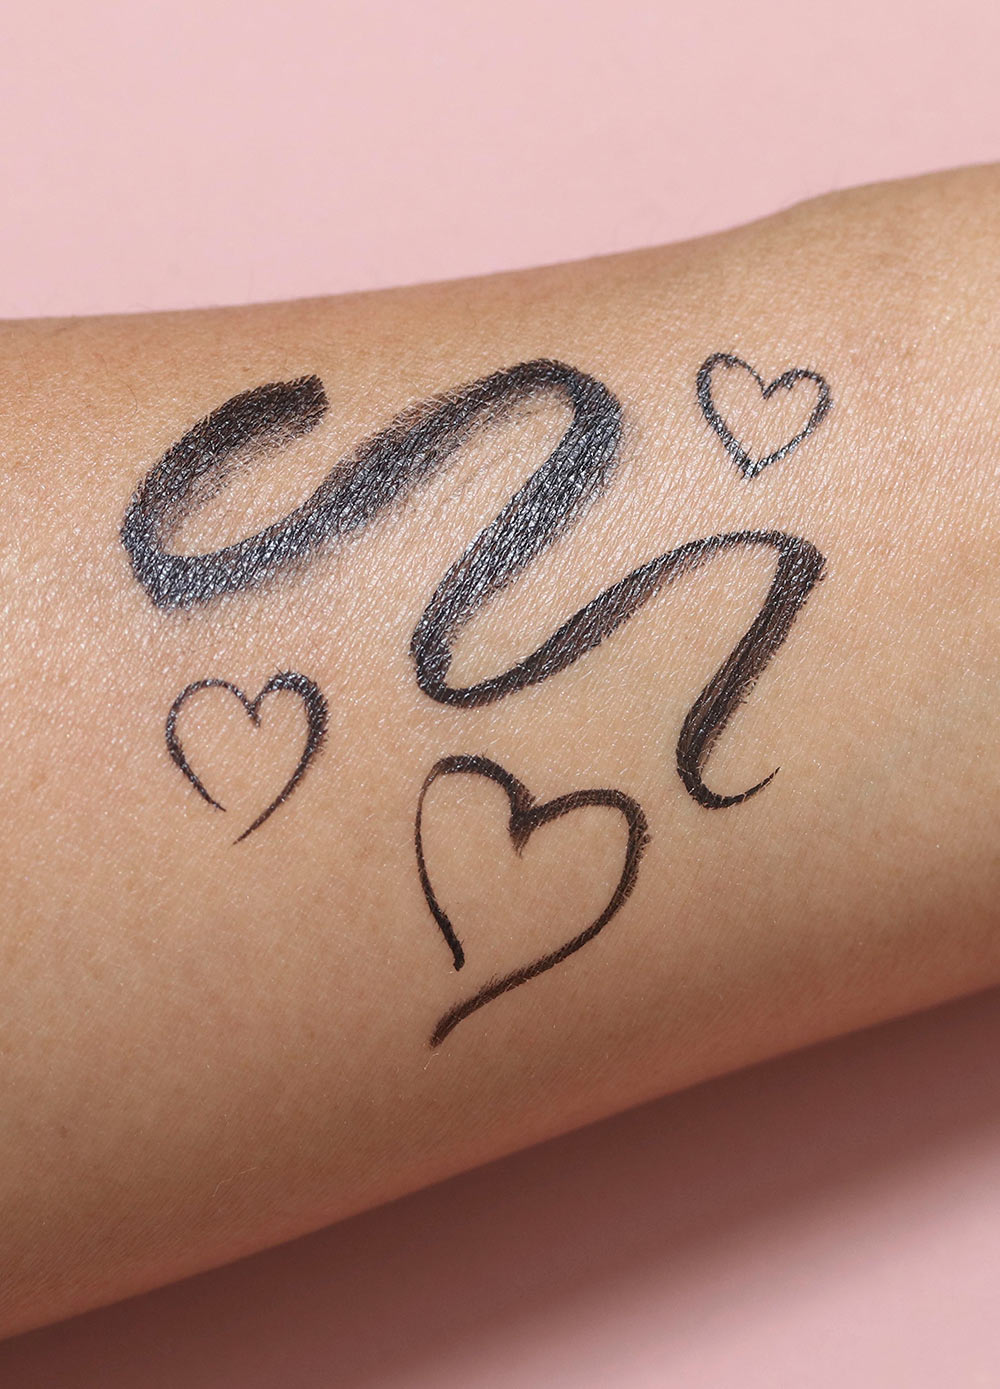
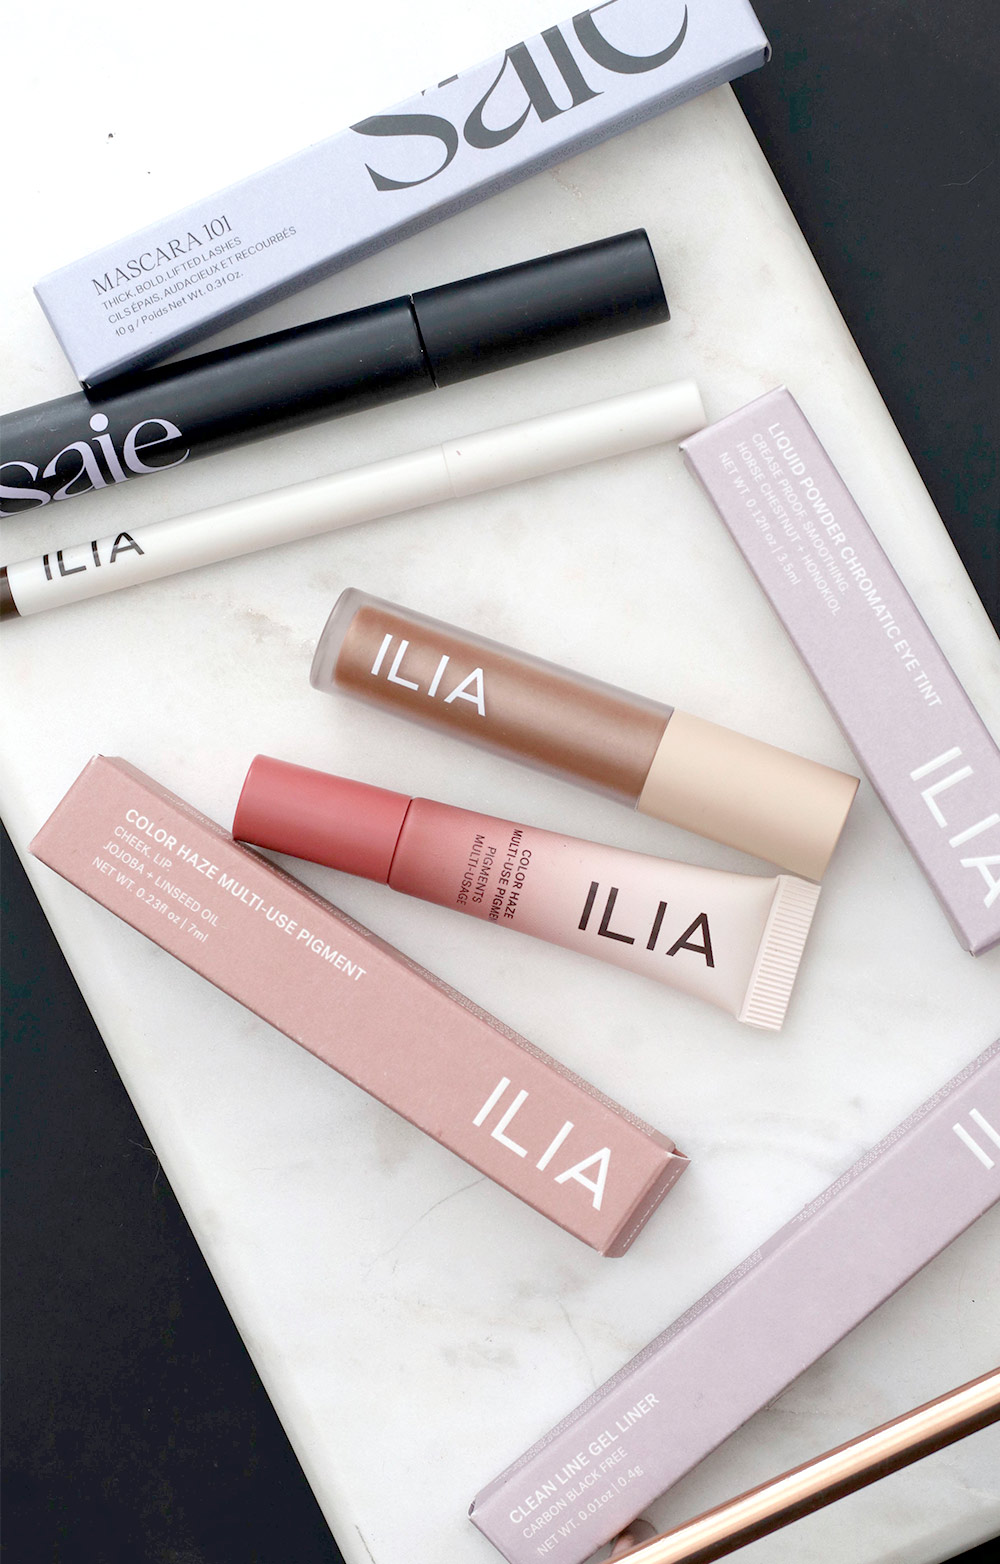
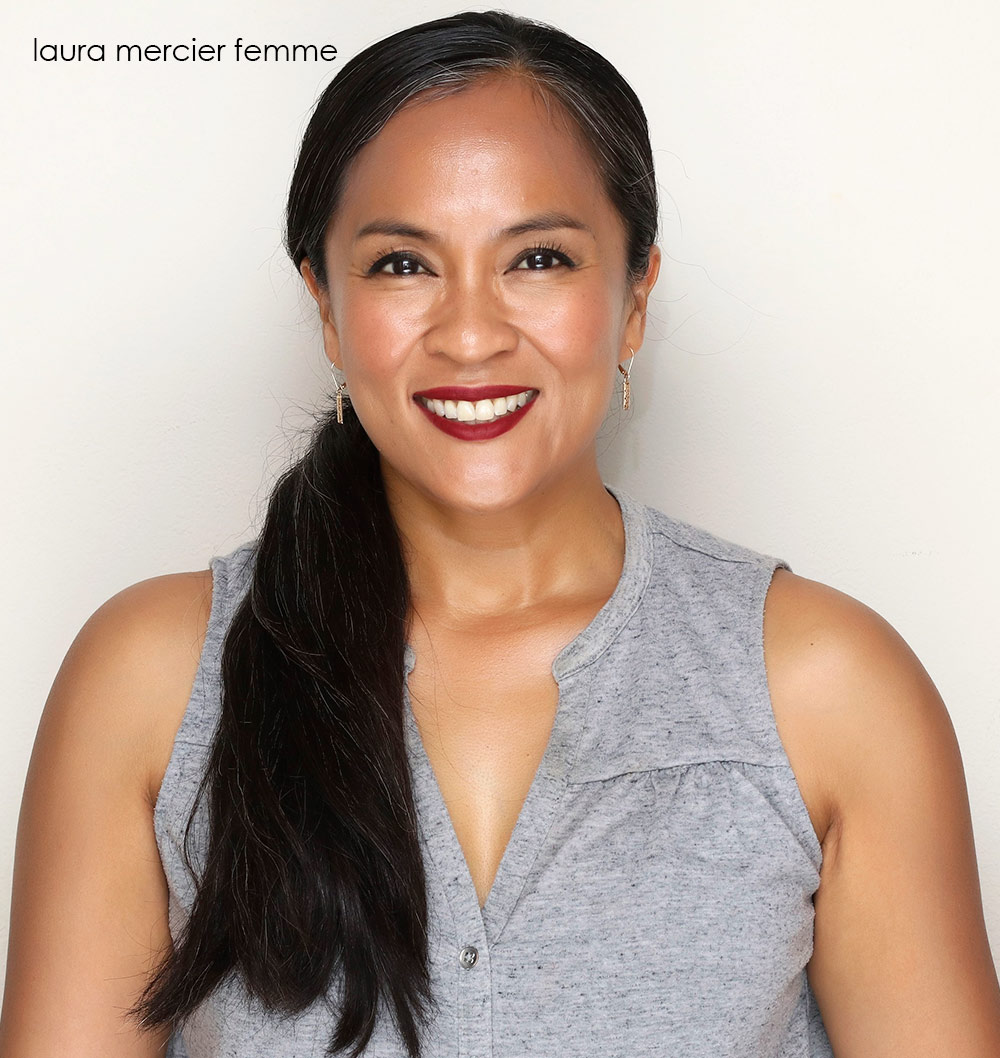
Anywho, so this note is marginally related to makeup, Kathleen said this in the comments last Friday on the two-toned liner makeup post:
Teach me your ways! I can handle the cool liner situation. But can you walk me through the eyeshadow, please? Is the Honey Lust on the lid and the Woodwinked on the inner corner? And Saddle underneath both as a base? I never wear shadow, so I appreciate your tips – Thanks!
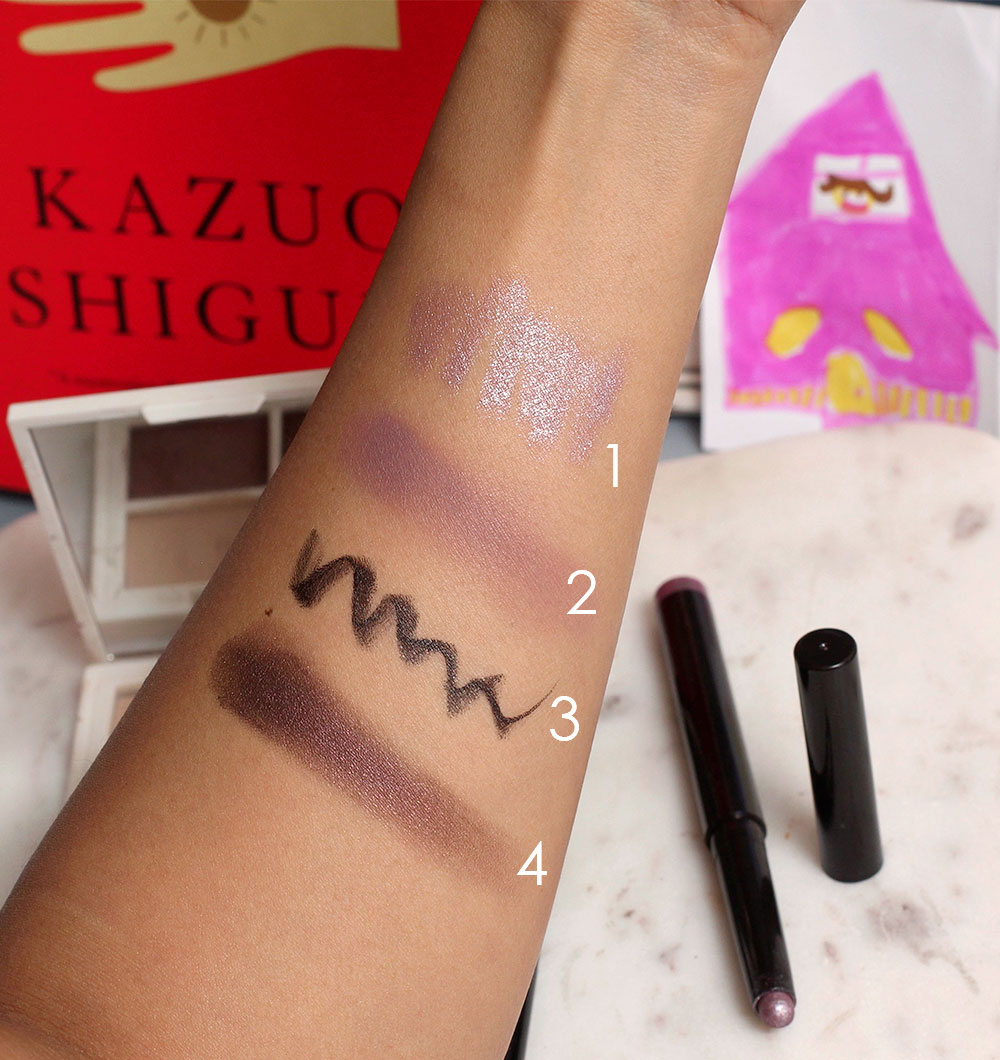
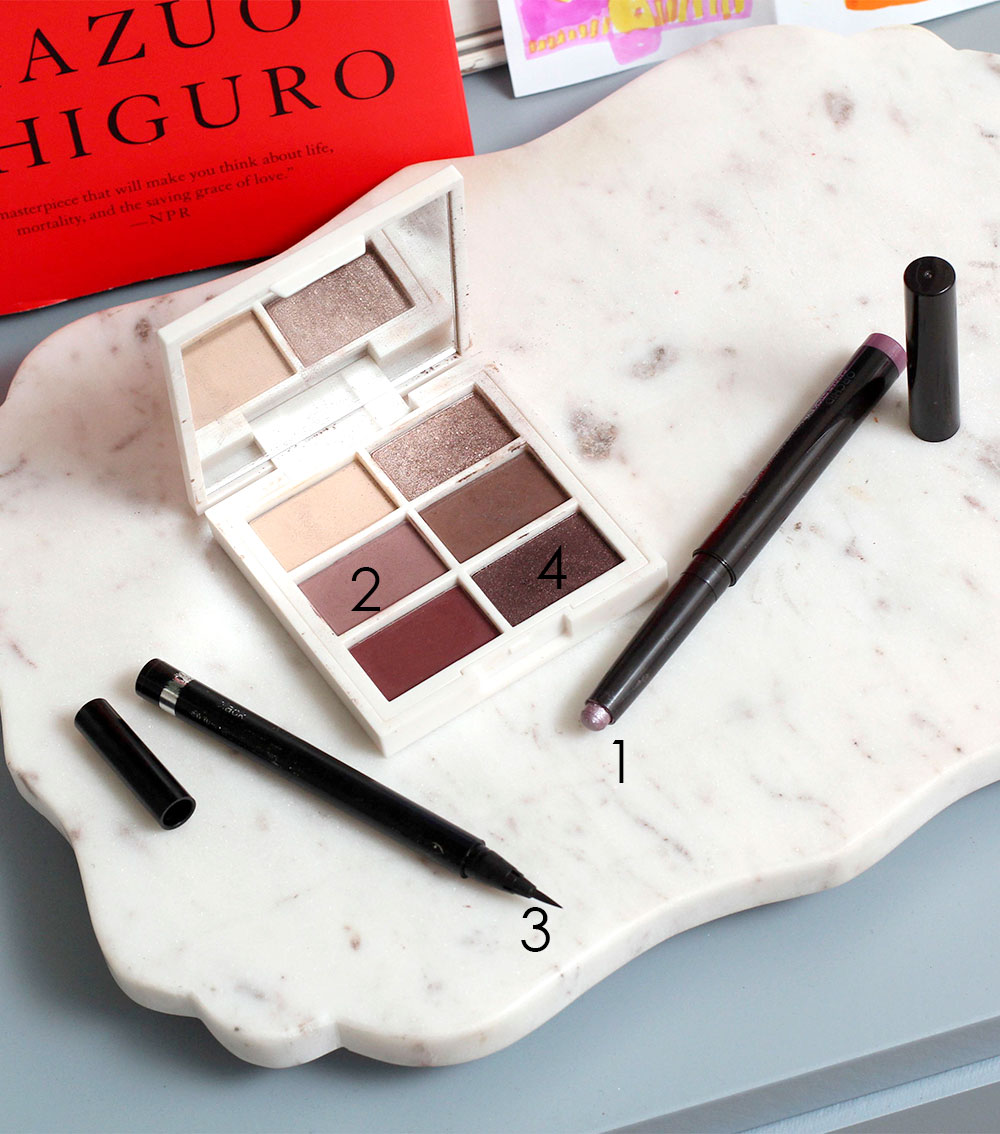
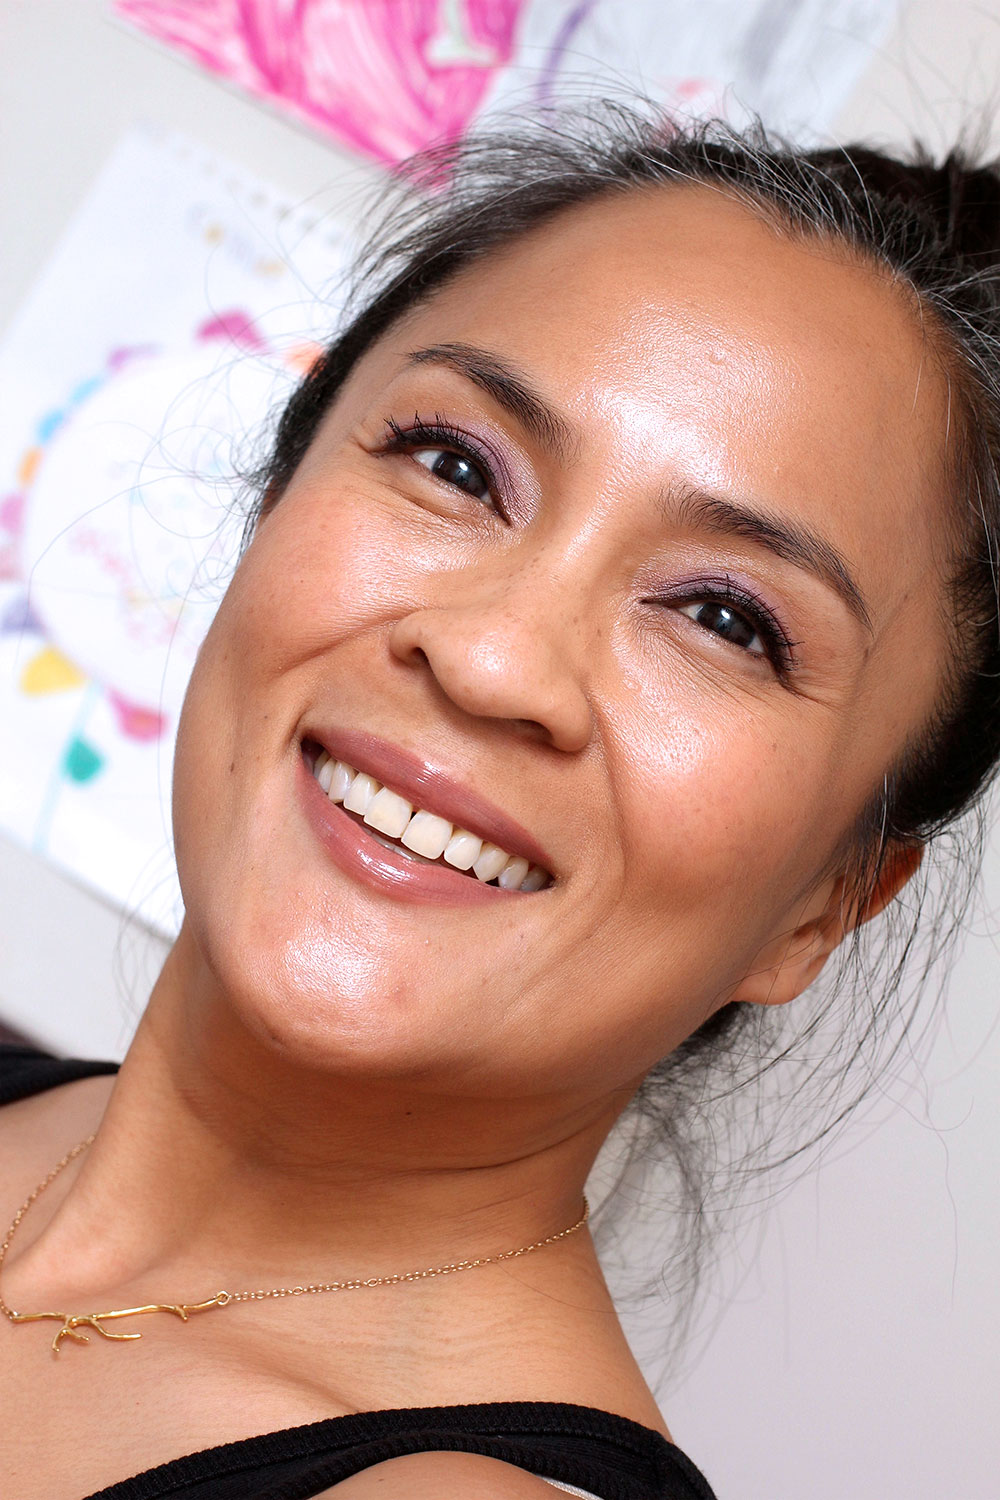
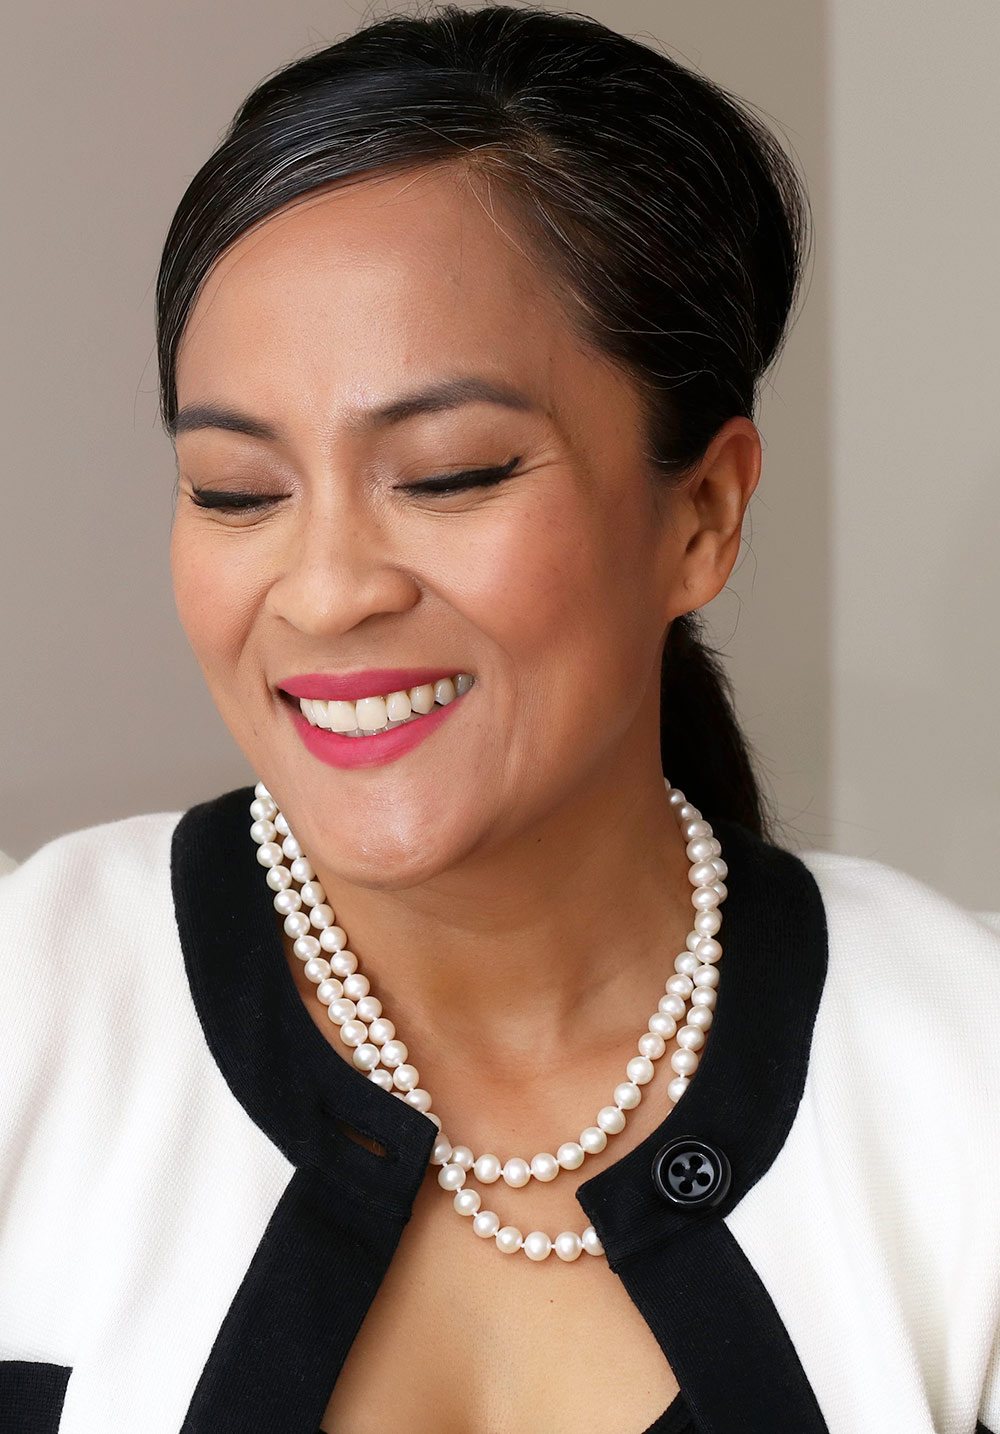
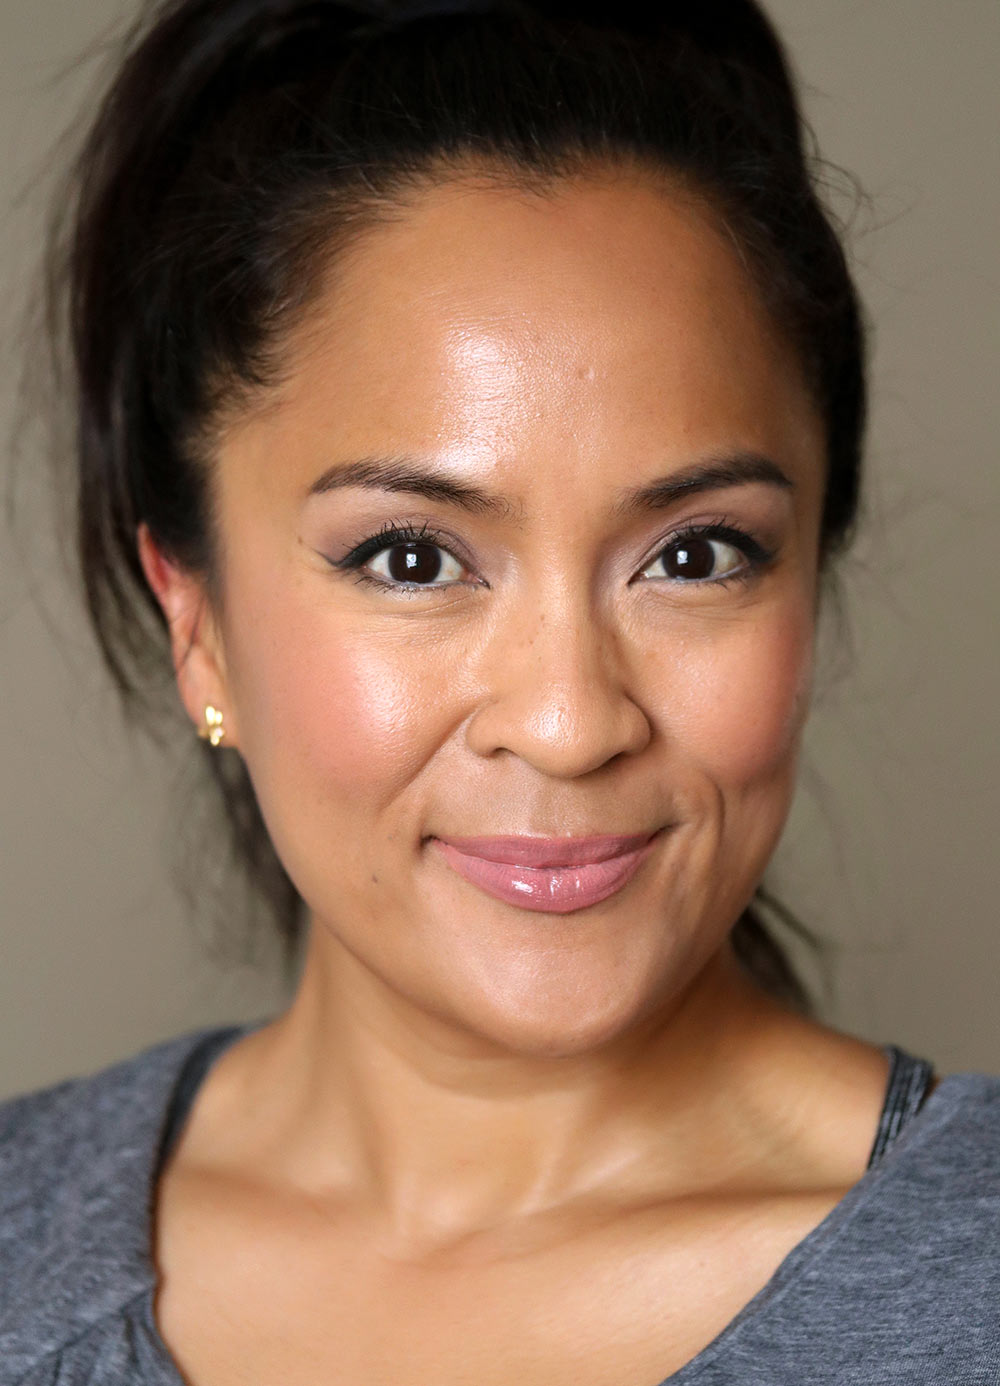
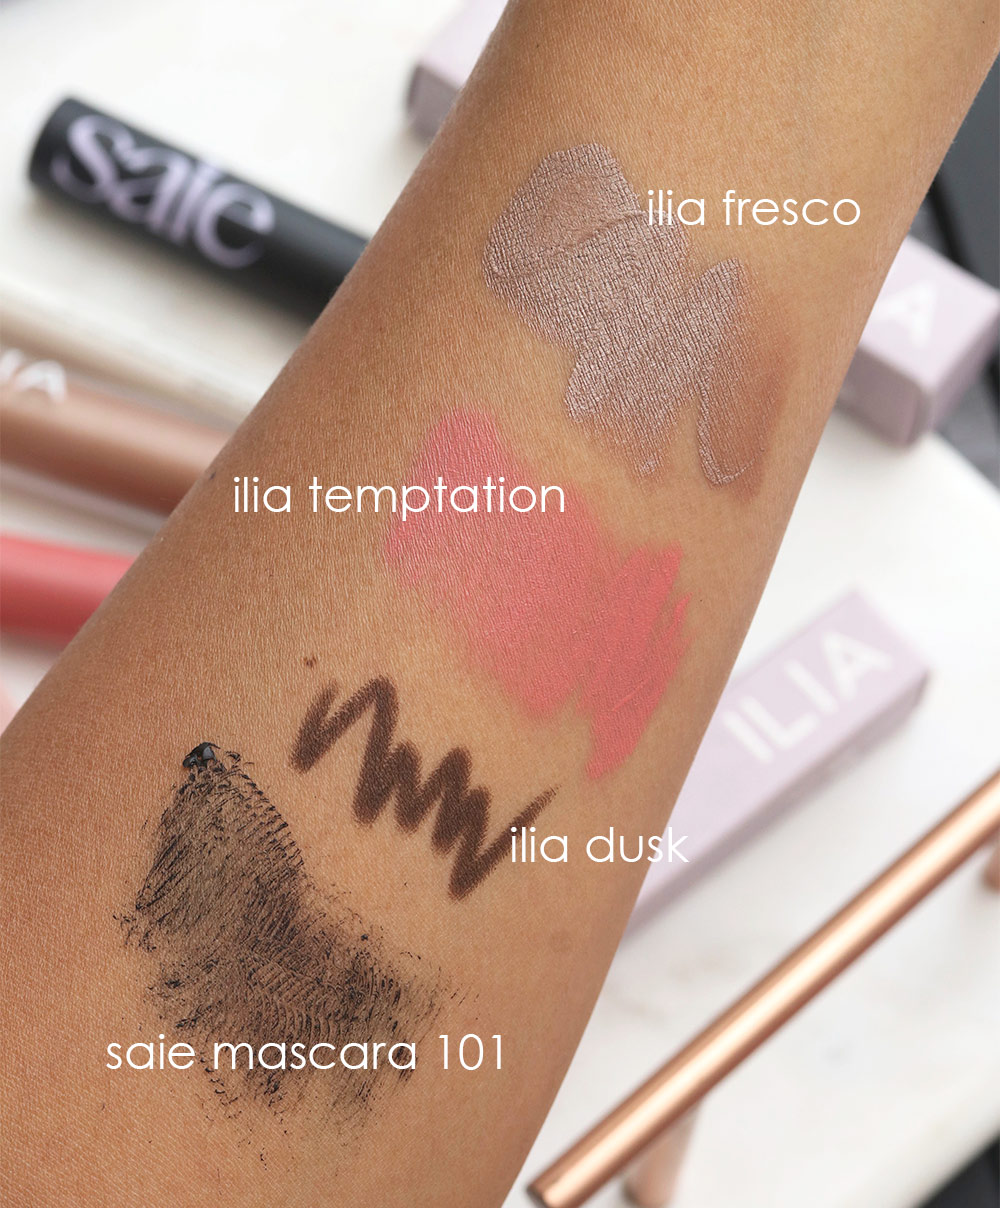
Hey, Kathleen! Thank you for your question. Here’s a breakdown of where I put each shadow on my lid; hope this helps.

Some general tips:
- Practice, practice, practice. With eyeshadow, I think it’s always a good idea to just keep practicing. Place your shadows on your lids, blend as much as you can (use a light touch), and repeat until you get the hang of it. Eventually you’ll figure out what placement works best for your eye shape.
- Keep it simple. I would keep it relatively simple. Do one, two shades at the most. Oh, and simplify by skipping the primer if you want (or don’t). I usually opt out and just do shadow, no primer.
- Smooth it out. That said, if you’re having trouble smoothing out your gradients, try dusting a light layer of powder on top of your lids first. And just keep practicing!
Alright, I’m off to go and do absolutely nothing.
Your friendly neighborhood beauty addict,
Karen
P.S. TGIF!