Ah, smoky eyes… How I love, love, LOVE thee.
I love you for your telenovela-style drama, of course, but more than that — I love your gymnastic-caliber flexibility. There are so many ways to creatively interpret smoky eyes, and one of my favorites is this daytime eye look with smudgy liner.
It’s easier than it looks.
No, really! You won’t need a quadrillion brushes or eyeshadows. Just four brushes — a flat eyeshadow brush, a domed blending brush, a tapered blending brush and an angled eyeliner brush — and four eyeshadows, and for the shadows I suggest choosing a progression of colors from darkest to lightest in any finishes that move you from matte, to shimmer, to satin, etc.

For daytime smoky eyes, I do prefer mattes, though, more than shimmers, because the flatter finish says to me, “Let’s set a meeting to work on the fourth-quarter TPS reports,” as opposed to, “Let’s meet at da club to freak on some hot dudes.”
As for your colors, you’ll need a light shade to highlight your brown bone, a slightly darker crease color around your skin tone or one or two shade darker, a color slightly darker than that for the “smoke” on your lids, and then another even darker shade to smudge the eyeliner we’ll be using.
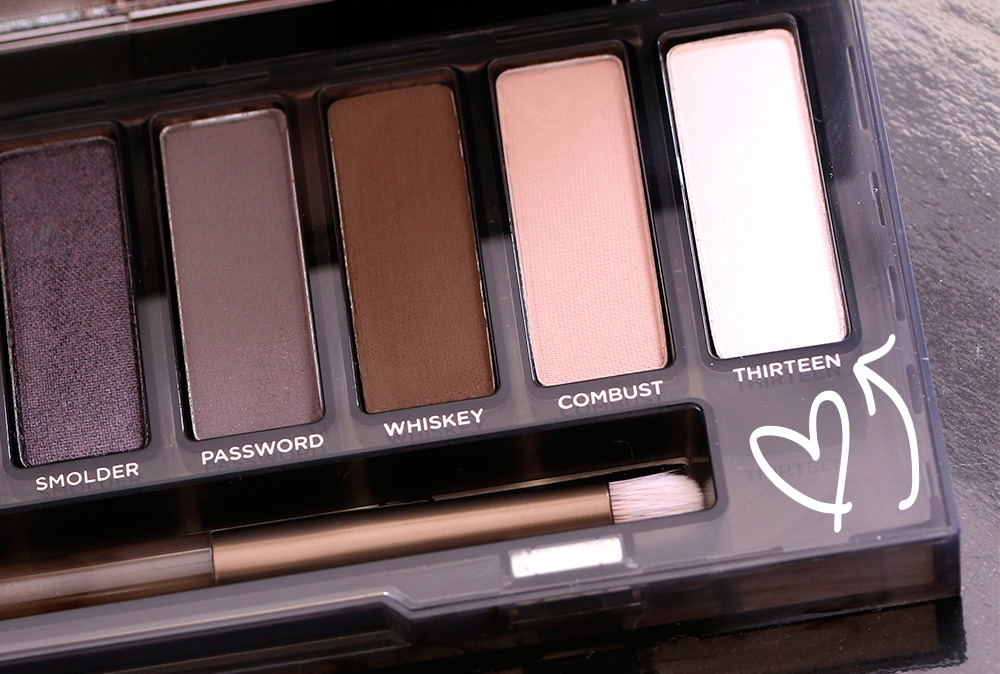
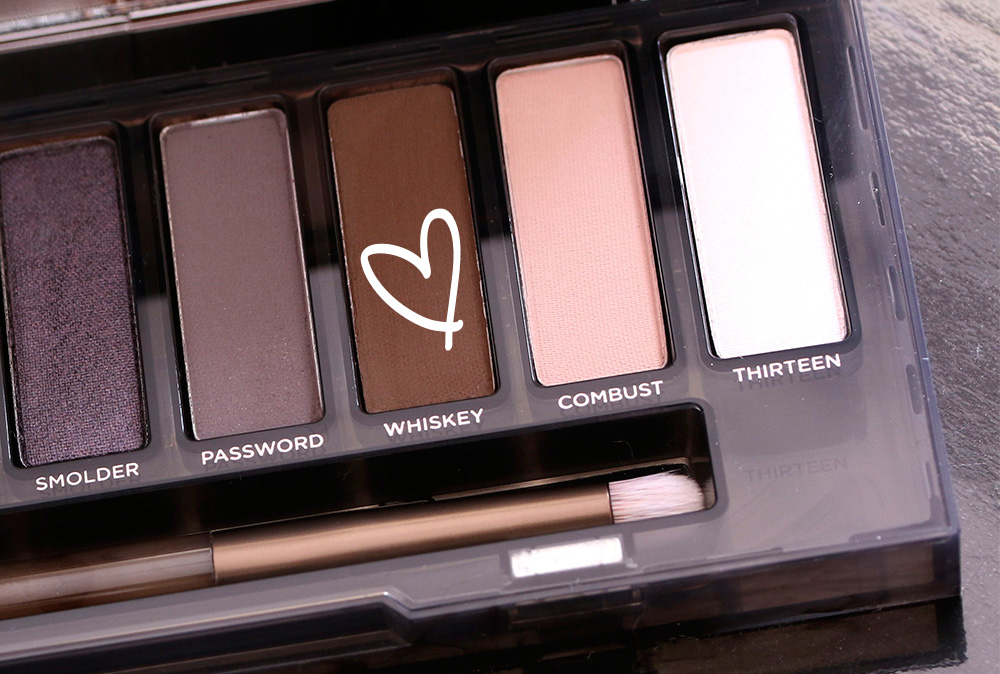
For this look, I went with four shades from the Urban Decay Naked Smoky Palette, namely light beige Thirteen, which I’m using as my highlight shade; peachy taupe Combust, which I’m using as my crease shade; dark brown Whiskey, which I’m using as my lid shade; and dark gray Password to smudge the liner.
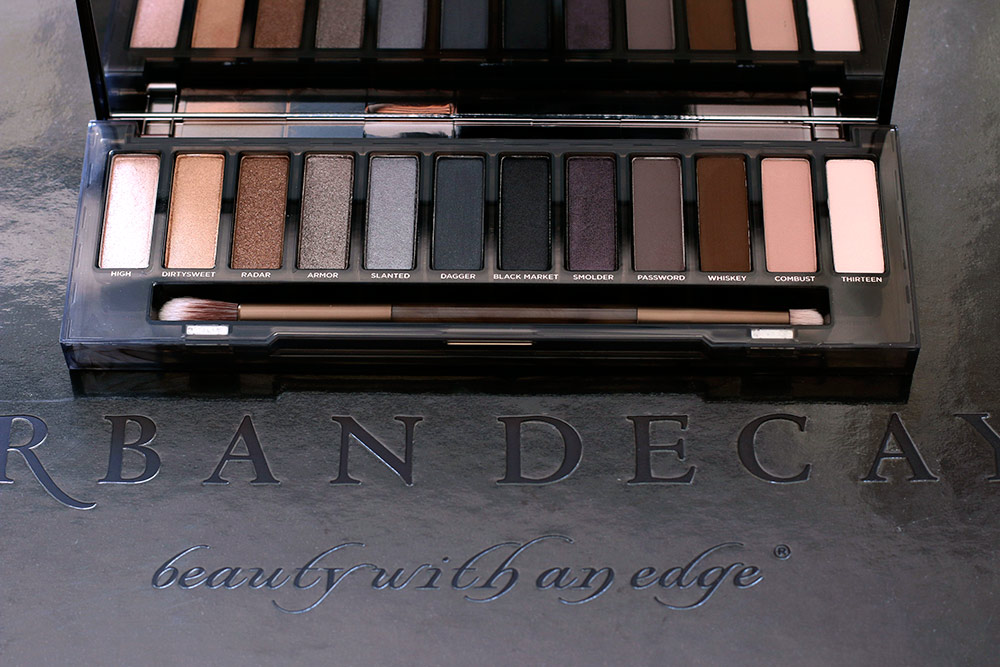
If you can’t figure out where to start, just open an shadow palette and choose a progression of four colors from lightest to darkest.
OK, now that we’ve found our shades, let’s smoke this ish out! 🙂
I’ve already done my foundation, concealer and all that jazz, so onward to the eyes…
1. Prime your lids, then apply face powder to them
After priming your lids, buff a bit of face powder on them with a fluffy tapered blending brush, going from your lash line all the way up to your brows.
Seriously, don’t skip this step! Whenever I do smoky eyes, I almost always start with this step, and I do it for a couple of reasons.
First, the powder absorbs any excess moisture left behind by your eye primer (or by your concealer or foundation, or whatever you’ve chosen to use on your lids as a primer), ensuring that the shadows we use apply evenly.
Gotta avoid that patchiness, yo!
Second, and this is probably even more important, the powder will make blending our eyeshadows about a thousand times easier, because it gives us a smoother surface.
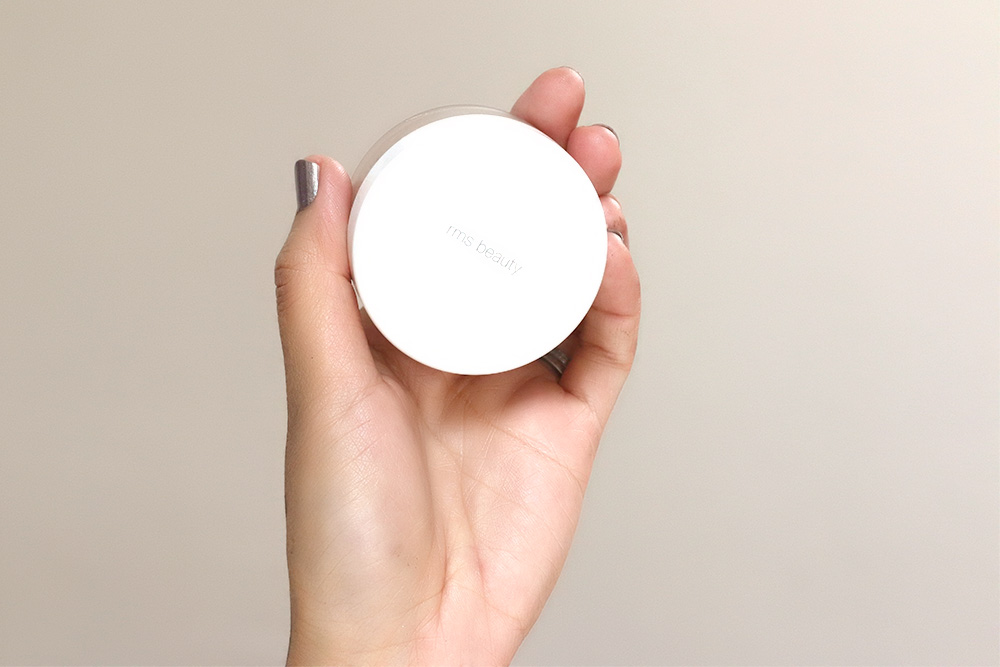
Here I’m using RMS Beauty Tinted “Un” Powder in 2-3.
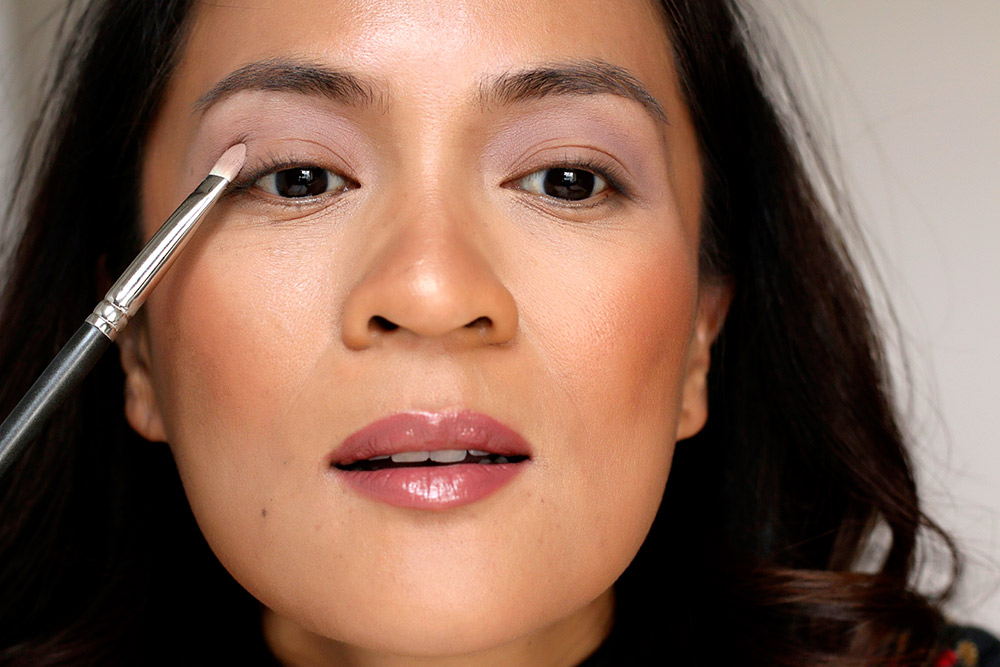
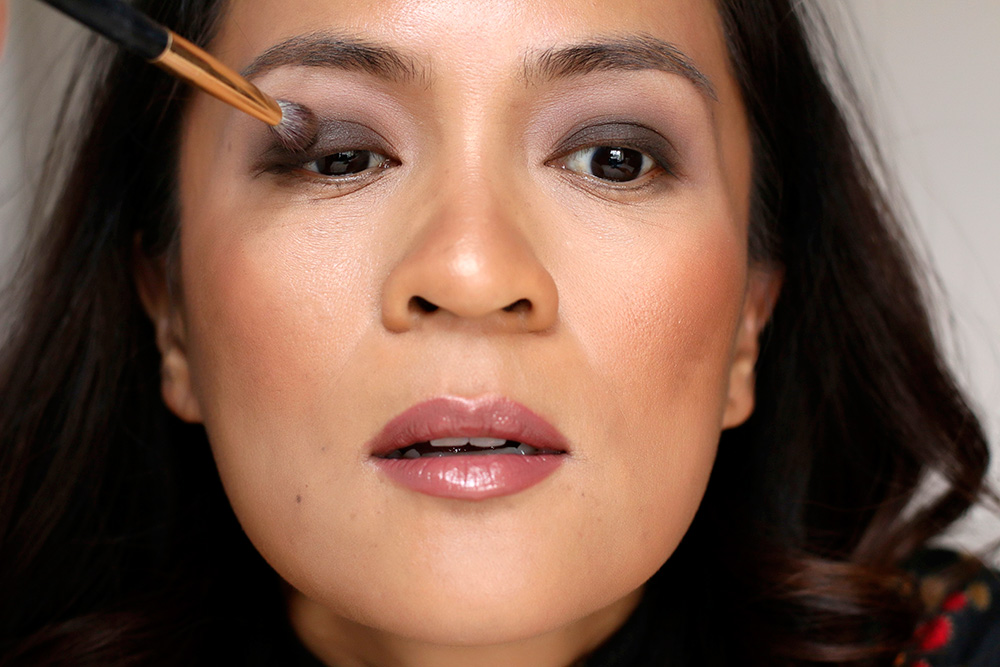
2. Highlight your brow bone

With this look, we’re going to start at the top (just beneath our brows), and work our way down, so take your lightest eyeshadow, and pat it right beneath your eyebrows with a flat eyeshadow brush. We’re doing this to project those brow bones and make them look more prominent, and we do it here because when we contour our crease in the next step, it’ll allow us to use less product.
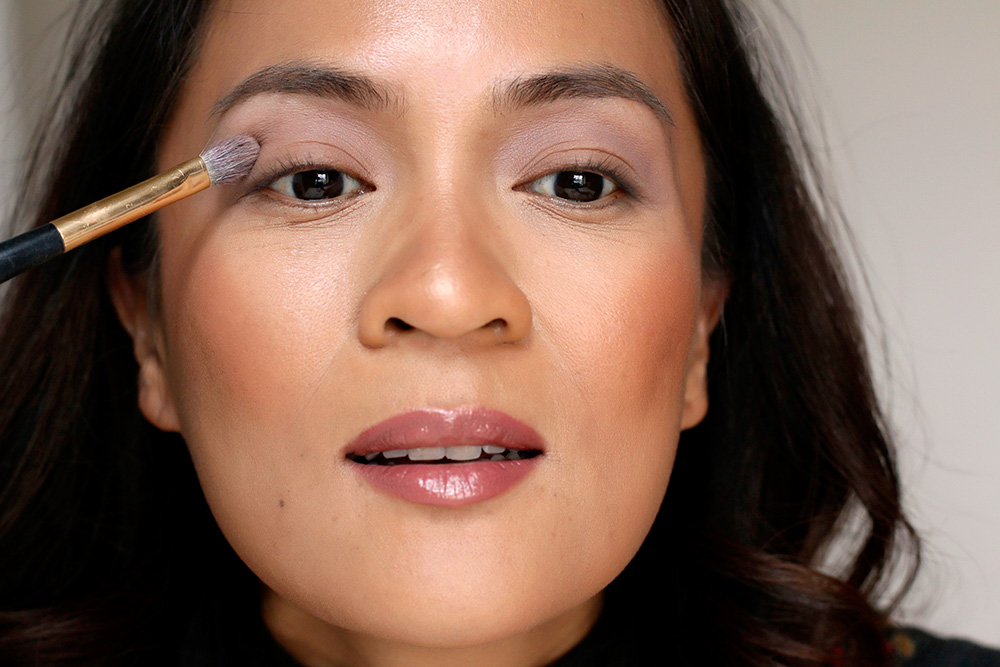
3. Contour your crease
Now, to deepen the eye, load that same flat eyeshadow brush with your contour color, and pat it into your crease. Using a flat eyeshadow brush for this helps you place the color exactly where you want it in your crease.
Next, swap out that flat eyeshadow brush for a domed blending brush, and smooth out the edges. You want that crease color to fade into the brow highlight above it.

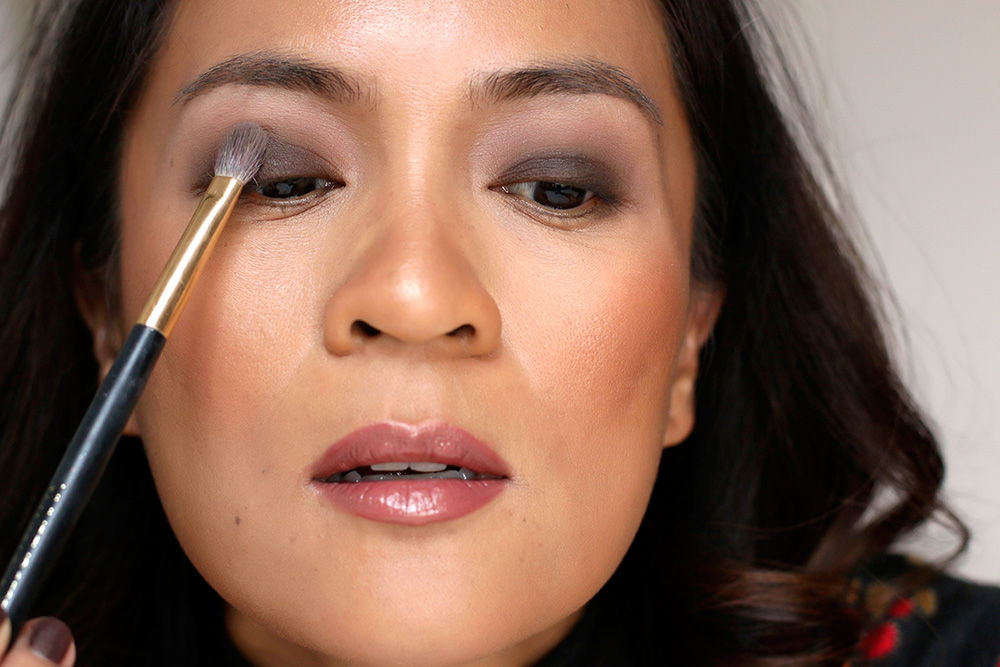
4. Apply your smoky shadow to your lids
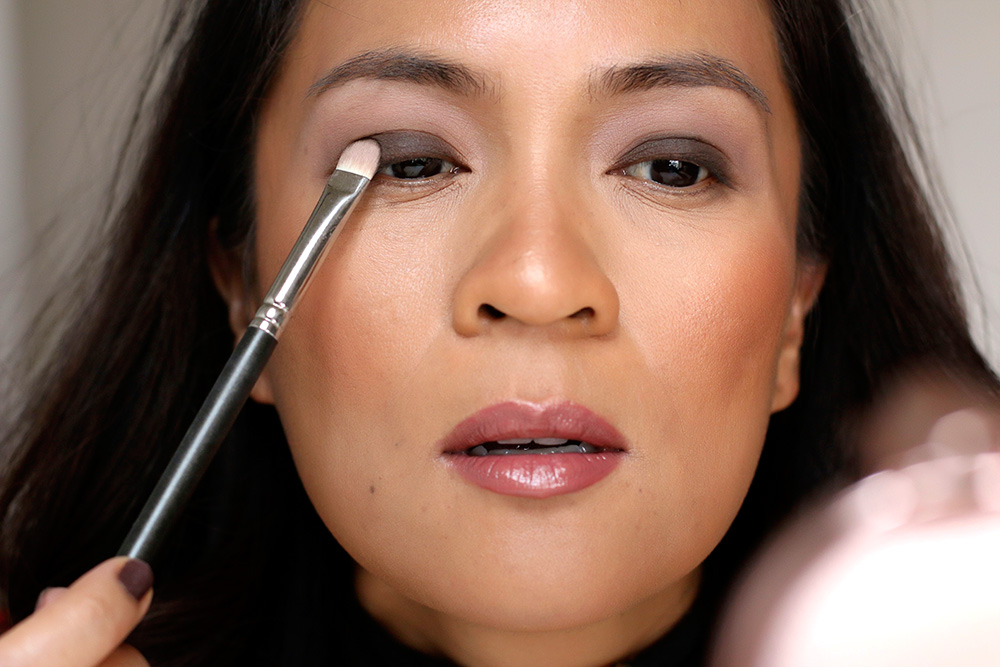
Now load up that same flat eyeshadow brush you used earlier with your chosen lid shade (and don’t forget to tap off any excess powder, because you don’t want rand-o bits of dark shadow fallout ending up under your eyes), and pat it from your lash line to just barely into your crease.
Next, smooth out the edges with your domed blending brush, drawing the shadow up into the crease.
OK, this is where things can get tricky. We’ll have to pay close attention to our brush placement; otherwise, we’ll end up with a block of dark eyeshadow from our lash line to our brown bone, which isn’t what we want.
You’re aiming for a gradient that goes from darkest at the lash line to lightest at the brow bone, so you get that classic puff of smoke around the eye.
I like to start my blending with my blending brush pointing down, and blend nice and tight along the edge of that lid shadow using tiny circles to soften the edge.
After smoothing that edge, I flip the brush so that it’s pointing up now toward my brow bone, and I draw that color carefully up into the crease.
You’ll probably have to use multiple layers to fully blend out your edges and create a smooth gradient. I usually need three or four.
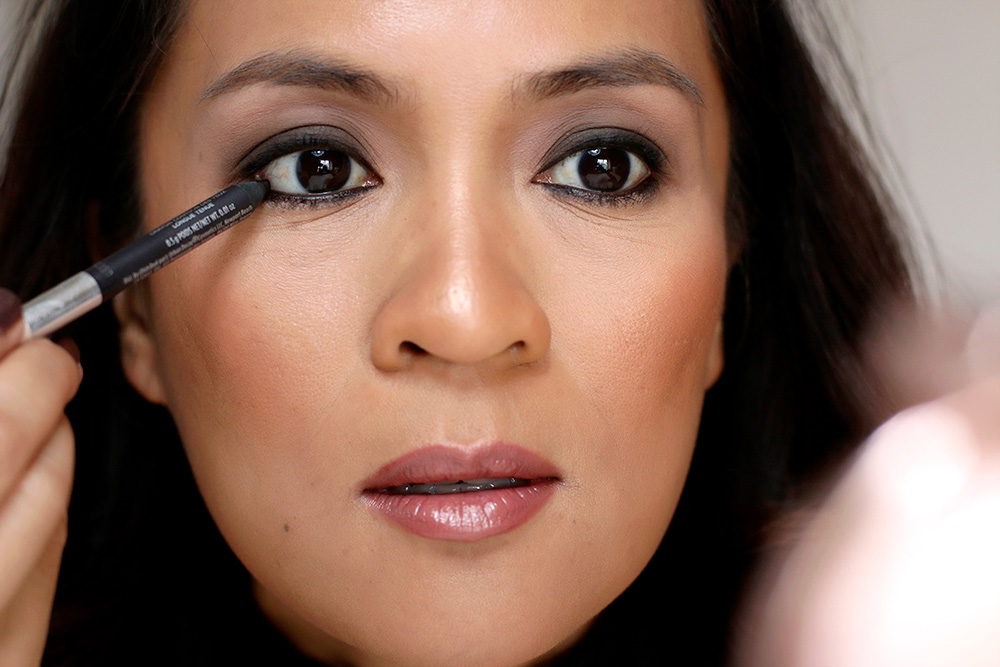
5. Line your upper lash line
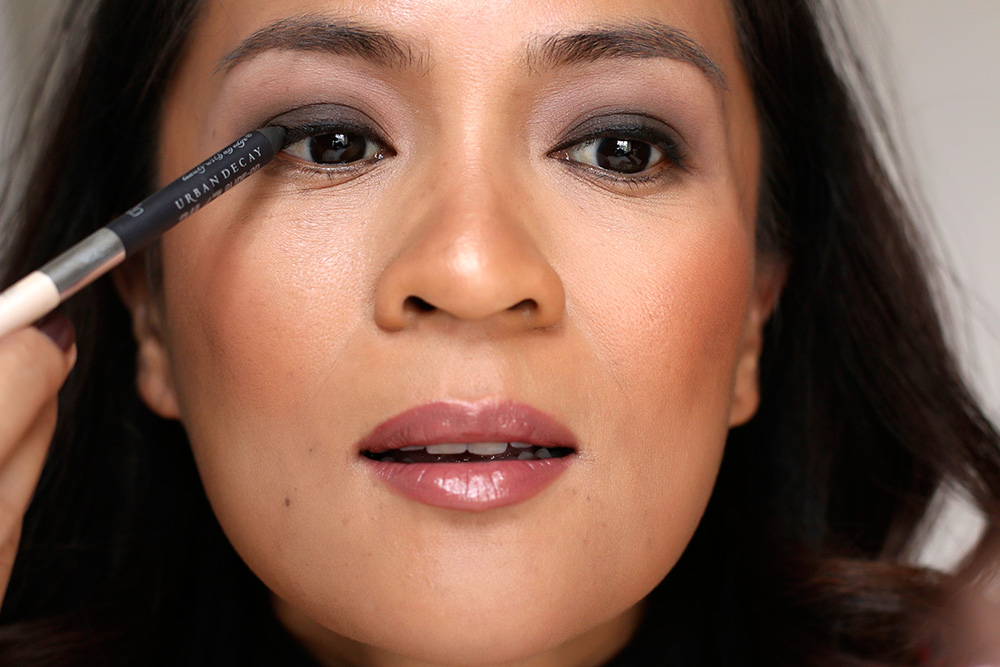
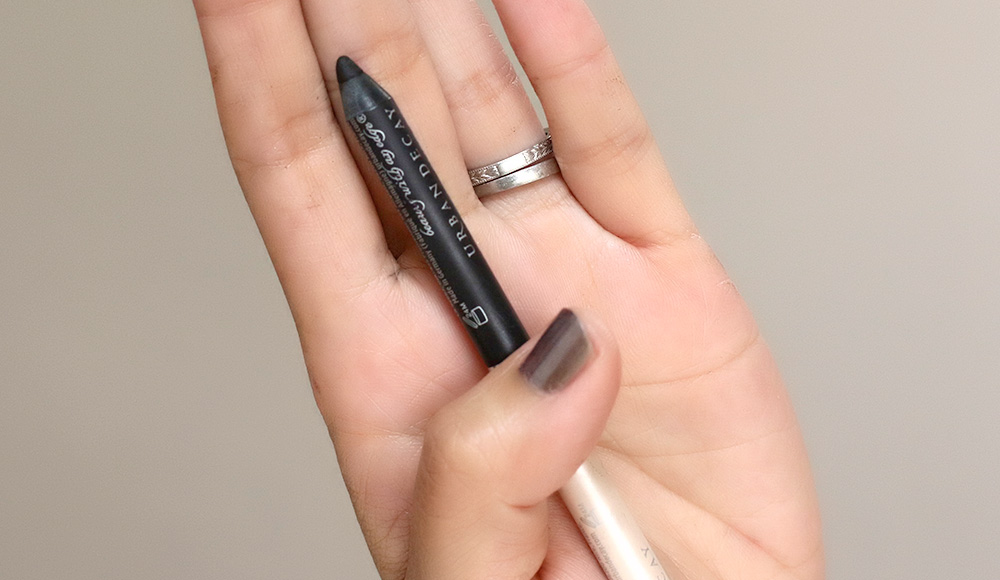
When your lids are sufficiently “smoked,” it’s time to intensify that smoke even more by lining your upper lash line with a dark pencil. For daytime smoky eyes, I like grayish black pencils or brownish black pencils, instead of pure black, because I think that black liner is a little more nighttime dramatic.
The liner I’m using here is Urban Decay Crave, a dark brownish black.
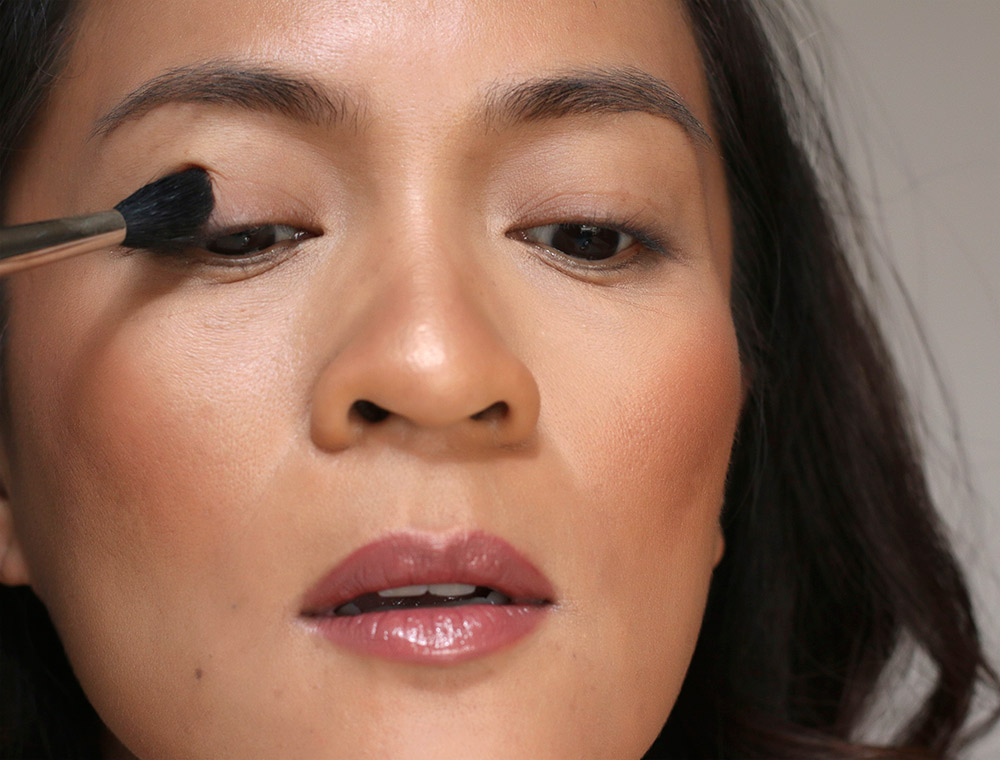
6. Smudge your liner

Now, softly smudge out that liner with your second darkest shadow using an angled brush.

7. Tightline and line your water lines
Totally optional, but using the same pencil, you can tightline your upper lash lines here, then line your lower water lines, but you can totally skip this step if it’s not your thing.
I usually do it because I like the extra oomph, and if liner accidentally ends up on your lower lash lines, just make it part of the look by smudging it with the angled liner brush (with no additional product on it) you used in step 6.
8. Load up on mascara
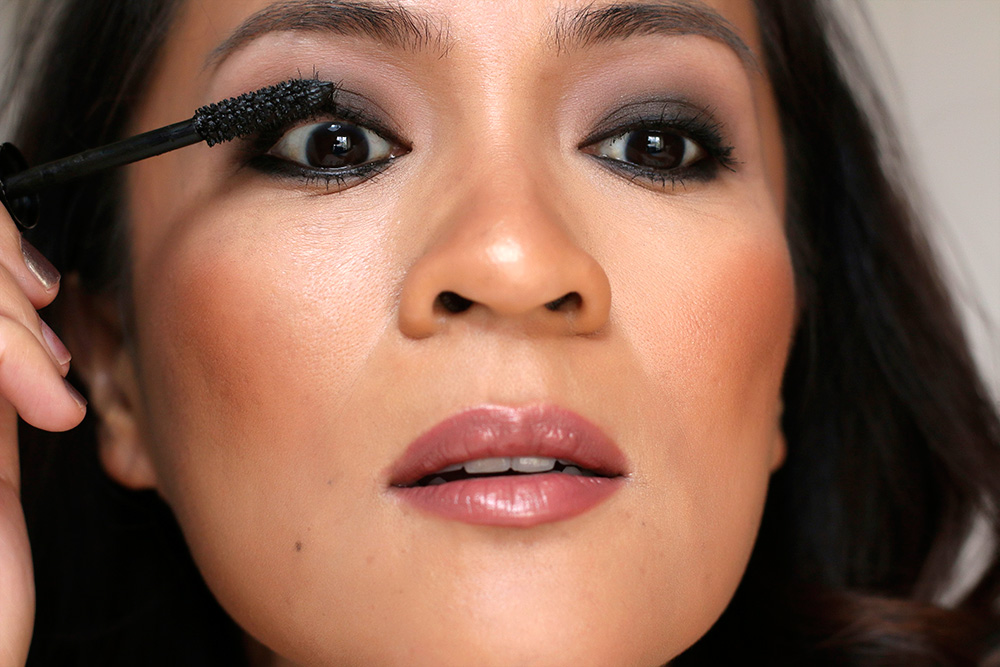
Finally, let’s wrap things up with a tidy bow by loading up our lashes with mascara. Here I’m wearing my trusty Chanel Le Volume de Chanel.
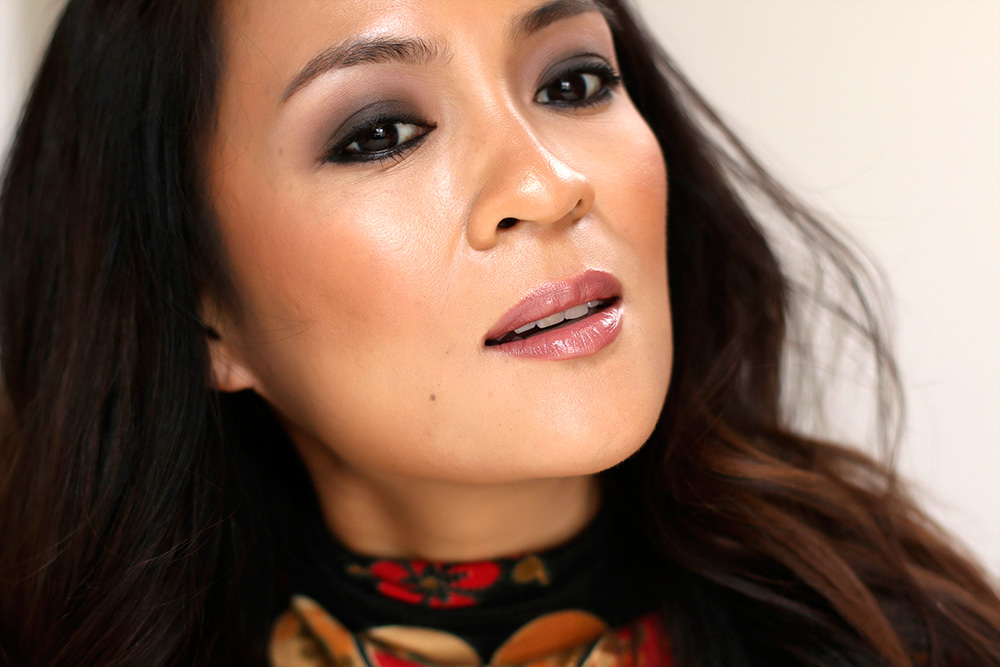
The final look
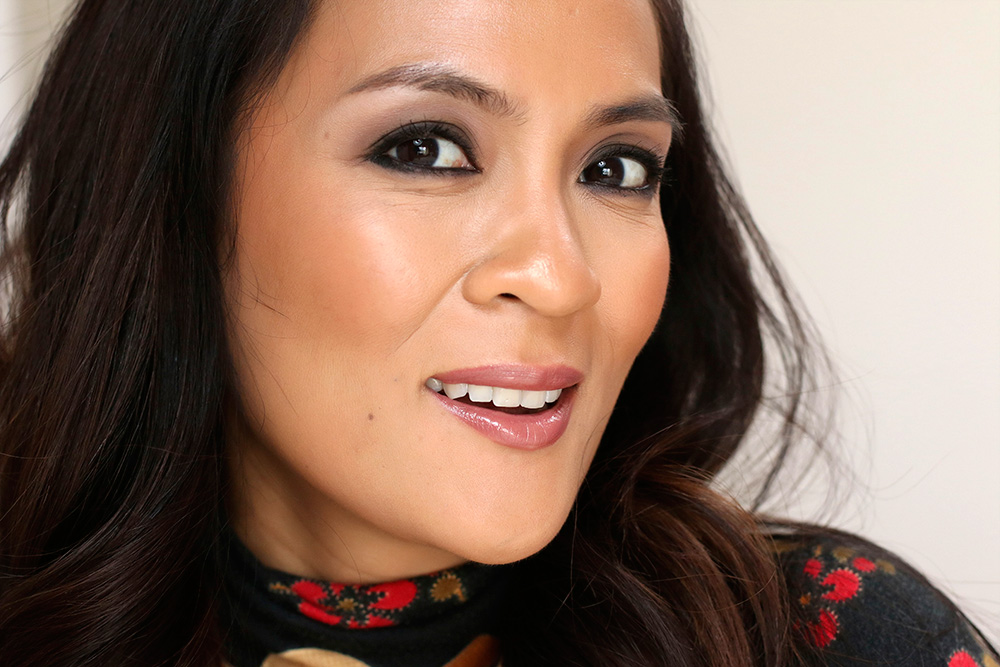
Now you’re all smoked out and ready to handle whatever comes your way. 🙂
If you try this look (and I hope you do!), please send me a pic or, if you’re on Instagram, tag me @karenmbb. I’d love to see you work it!
Your friendly neighborhood beauty addict,
Karen
I usually do my smoky eye the other way around, starting with the lash line and finishing with the brow bone. I’ll try to reverse the order of the steps to see how it works for me!
Great look, Karen!
I’ve been thinking about investing in Urban Decay Naked Smoky. Karen do you like it as much as the other Naked palettes? Which one of them is best for work casual? I’m also a nc20 in Mac.
This looks awesome! I’m very minimalist with my makeup these days, a Chubby stick eyeshadow blended out is about my forte! Also, I’m very fair with silvery blonde hair, and I find that stronger eye looks tend to look super severe on my features. I should try like a taupes & browns smokey eye maybe? Wish I had your mad blending skills!
Gorgeous look. What are you wearing on your lips and cheeks?
Oh yes, a good smokey eye and a fresh lip color are my favooooorite! And you wear this look SO well, Karen, you look fantastic.
Wow! This looks so good on you! 🙂
xx Aditi
Diary of a Cusp
Love all the tips, Karen! I usually do my eye makeup in that order, starting from the brow working my way down.
Maybe I will try something similar today.
Wow,such a great tutorial, thank you very much, Karen! You look gorgeous! Can you please advise if you use “clean” blending brush or you tap it in your dark /lighter eyeshadow? Thank you very much in advance!
Greetings from Poland! 🙂
Nice work!
Does anyone know any dupes for Whiskey? Or if they sell it individually, I know they tend to make shadows exclusive to the palette, and well I don’t see myself ever using any of the other shades in the palette.
MAC Espresso or Brown Down.
Thanks!
I love the tart holiday paletts.
Aaargh!!! I keep repeating myself like a mantra ‘I don’t need Naked Smoky, I don’t need Naked Smoky, I don’t need Naked Smoky…’, but I see more and more looks created with it I really like. Yours is right up my street!
Lovely! And whats on your lips?
Smoking hot for sure Karen! ??
Beautiful look!
Hi Karen,
You look lovely as always!
Can you please give examples of which MAC brushes fit under the different brush types you used?
Thanks!
I love that smokey look. I just got the Naked Basics as a bday gift and can see using some of those shades to make a soft, smokey eye. I also have a dark chocolate pencil from Bobbi Brown that would work. I would love to know what brand of brushes you used and what recommendations for a good blending and flat head brush. I have good liner brushes. I also love the lip color on you.
I’m so gonna try this with purple!
Love the look. Can u tell me what products and shades you have used on your face
Beautiful! you are so preety!
I love this look, so easy and customizable with any colors you want! Also, your skin looks even more amazing than usual, I guess it’s true what they say about “pregnancy glow!”
Hi Karen.. Could you please let as know what are you using in the rest of your face? It looks flawless
Gorgeous look! Your skin is glowing. I’ve never done a smoky look. Guess you could say I’m stuck in a makeup look rut.
I’m with Jennifer- details please on the rest of your makeup. It looks awesome! And I’ll be trying out your eyes routine 🙂
Just wanted to leave a comment on a 5-year-old post to say I’ve been using this technique for 5 years and it works every time and I love it.