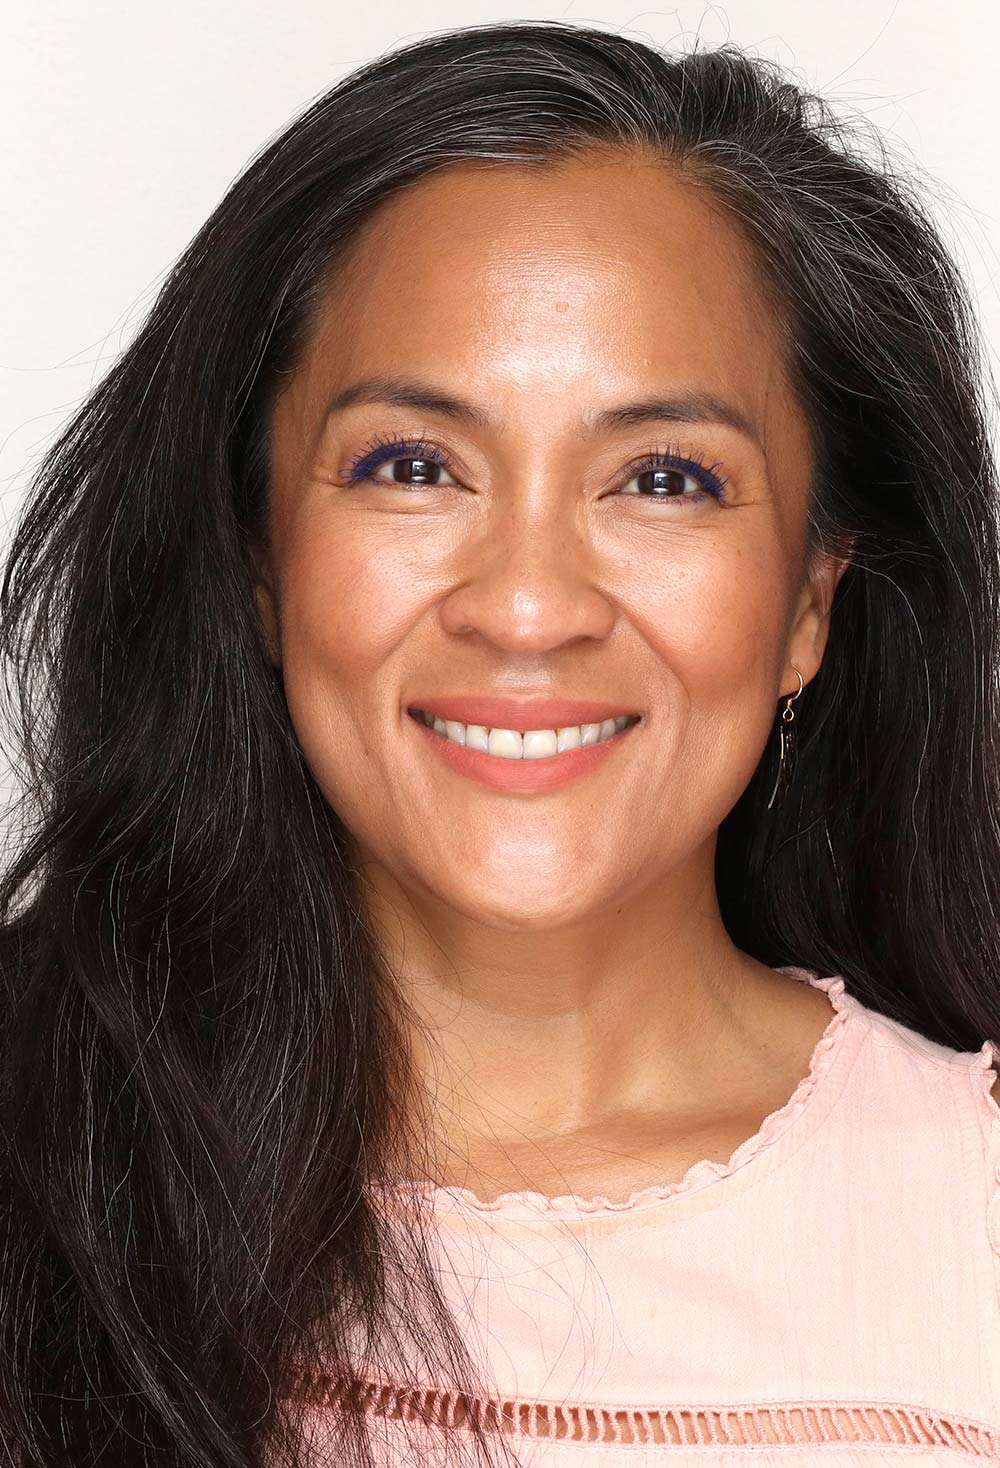
Have you ever, after the end of a long day, just put on makeup on top of the makeup you’ve been wearing all day just for the heck of it fun? No? Yes? Maybe?
(Please say yes.)
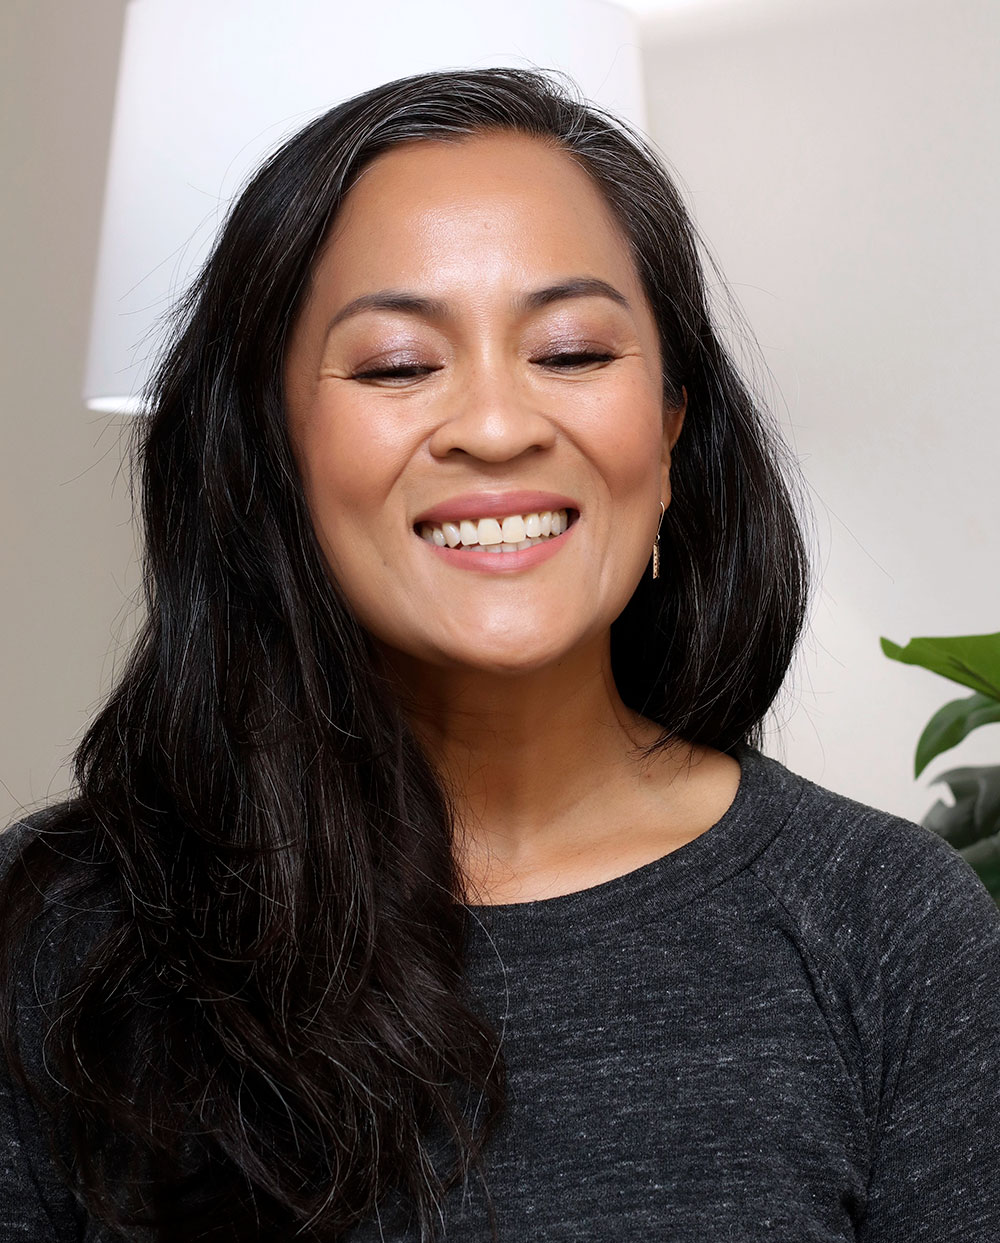
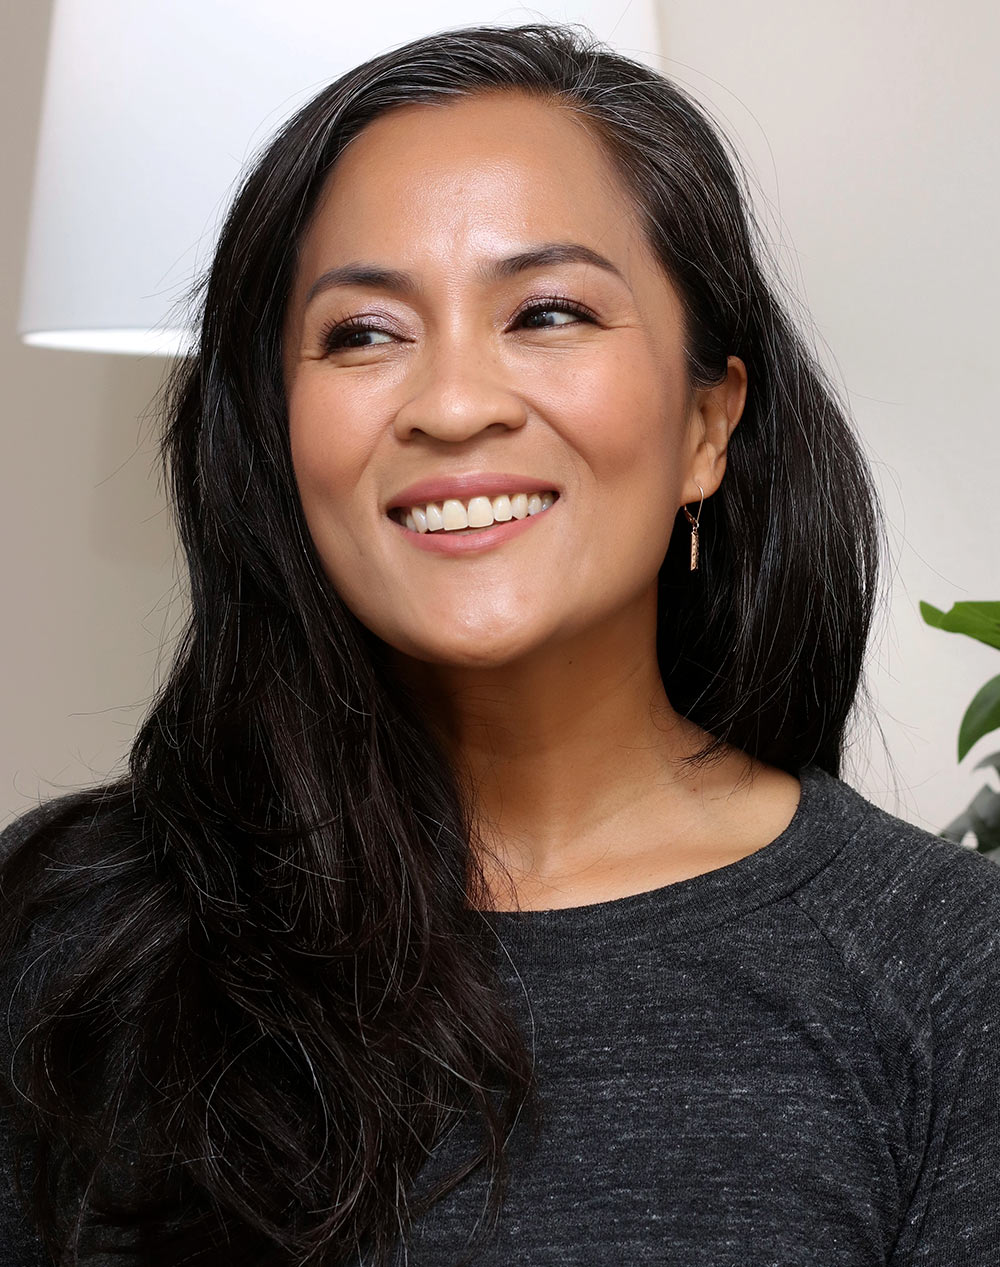
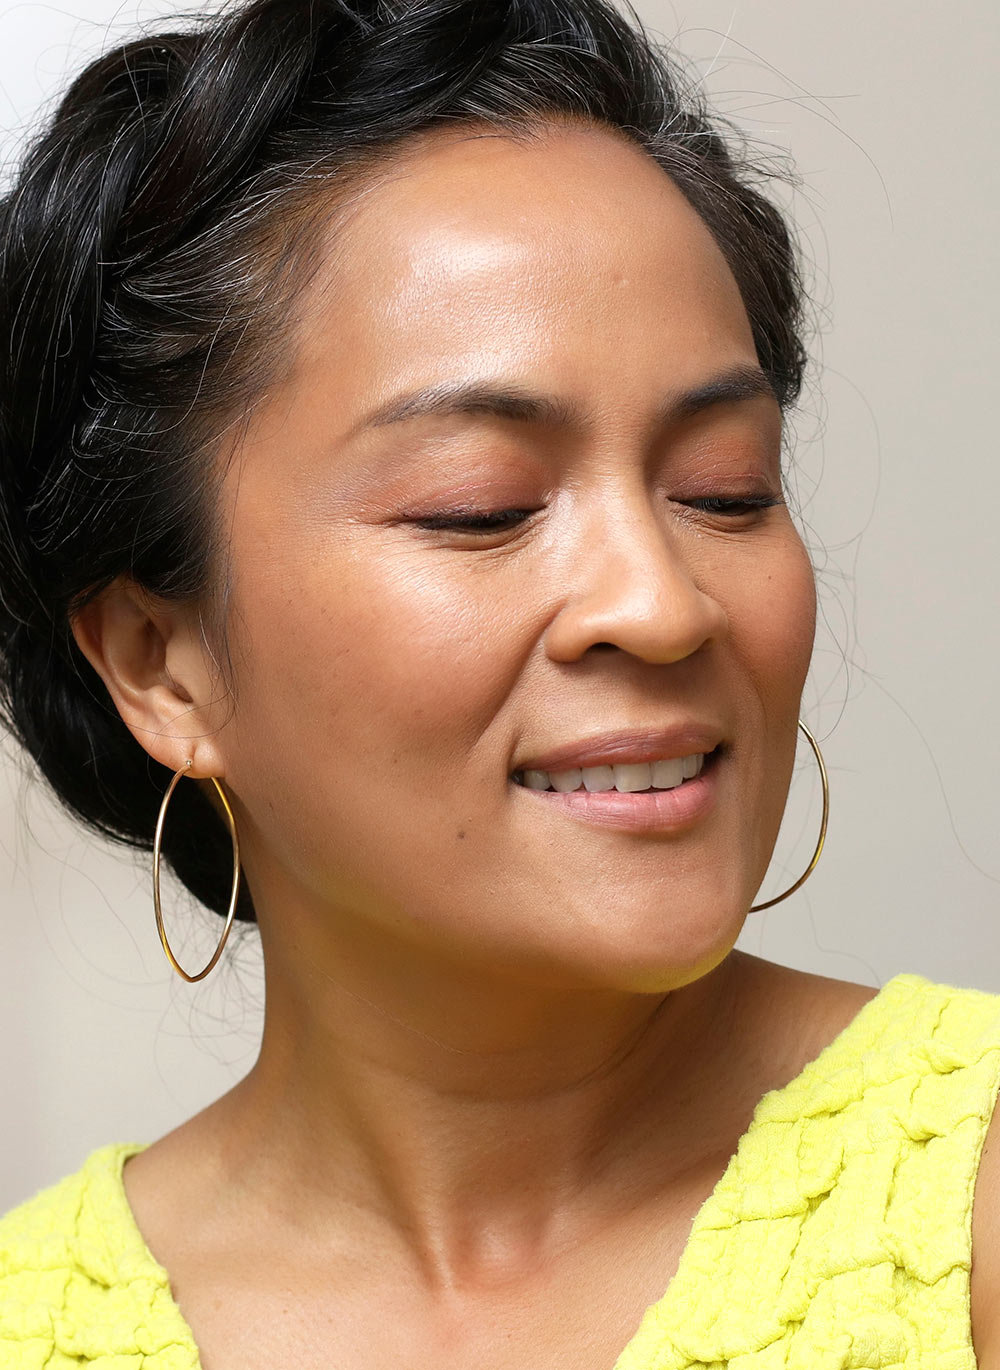
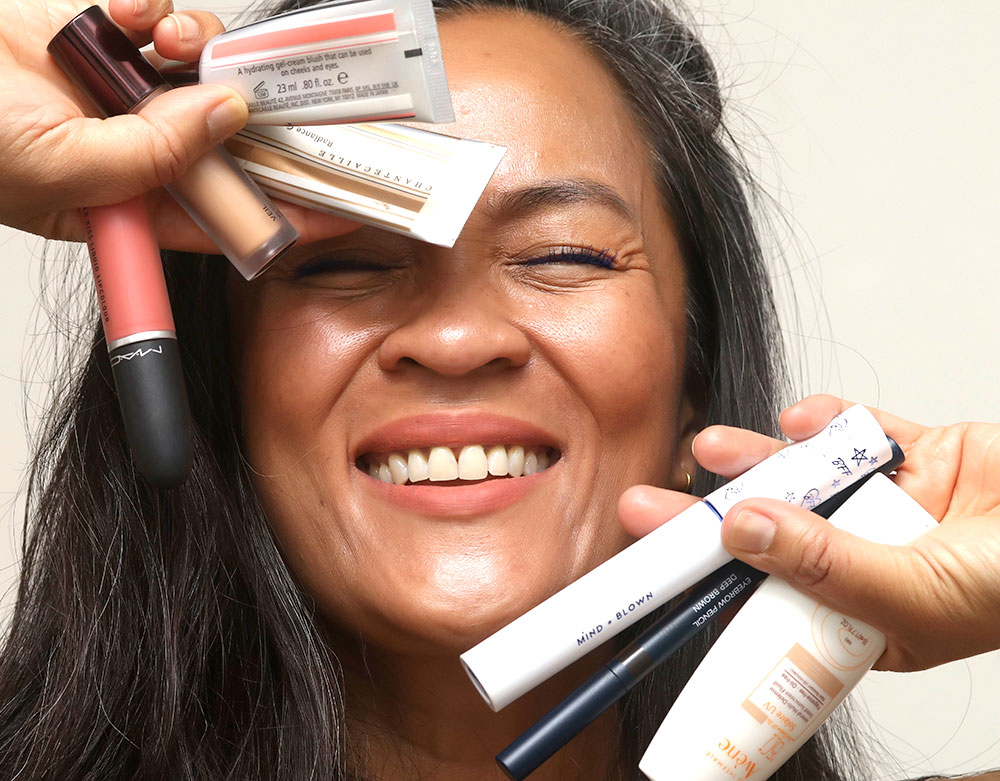
That’s what happened here with a bunch of things from Revlon!


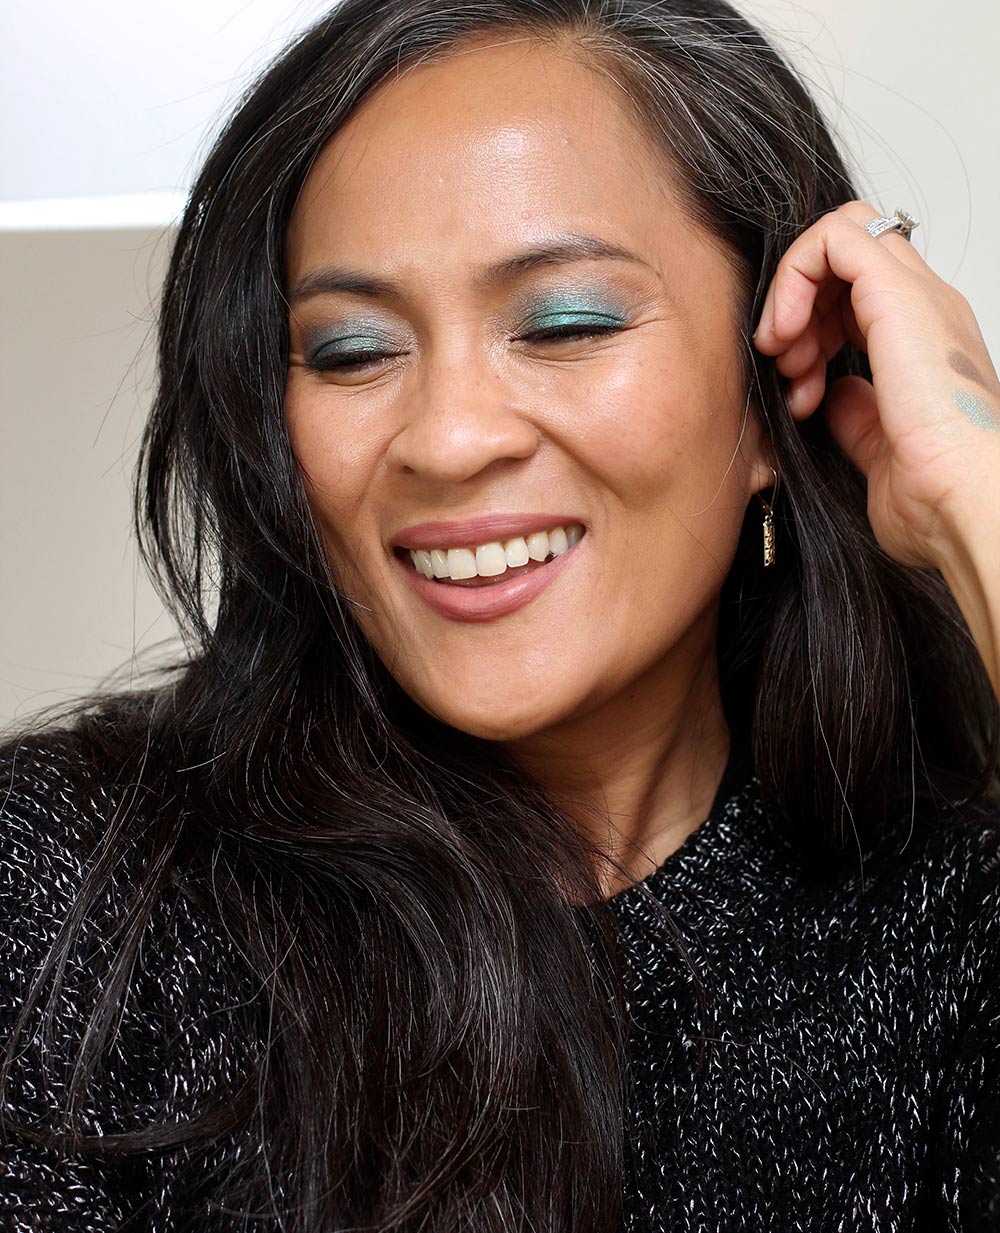
Sometimes you’ve just gotta swipe on some shiny green eyeshadow, ya know? The one in the Revlon Fully Loaded palette is on the frostier side, so if you like a high beam gleam, you might just love it.
Speaking of shimmer, the Twilight Gleam Highlighter has glow for days. I like my beams o’ light on the subtle side, so it’s not something I’d wear regularly on my upper cheekbones, but as an inner corner highlight, yeah, I’m into it.

I really like the ’90s vibes I get from this lip liner (Nude) and lipstick (Bare It All) combo. Out of habit, I blended in the lip liner, but the next time I plan to leave it unblended to get that ’90s-style supermodel lip with very defined edges.
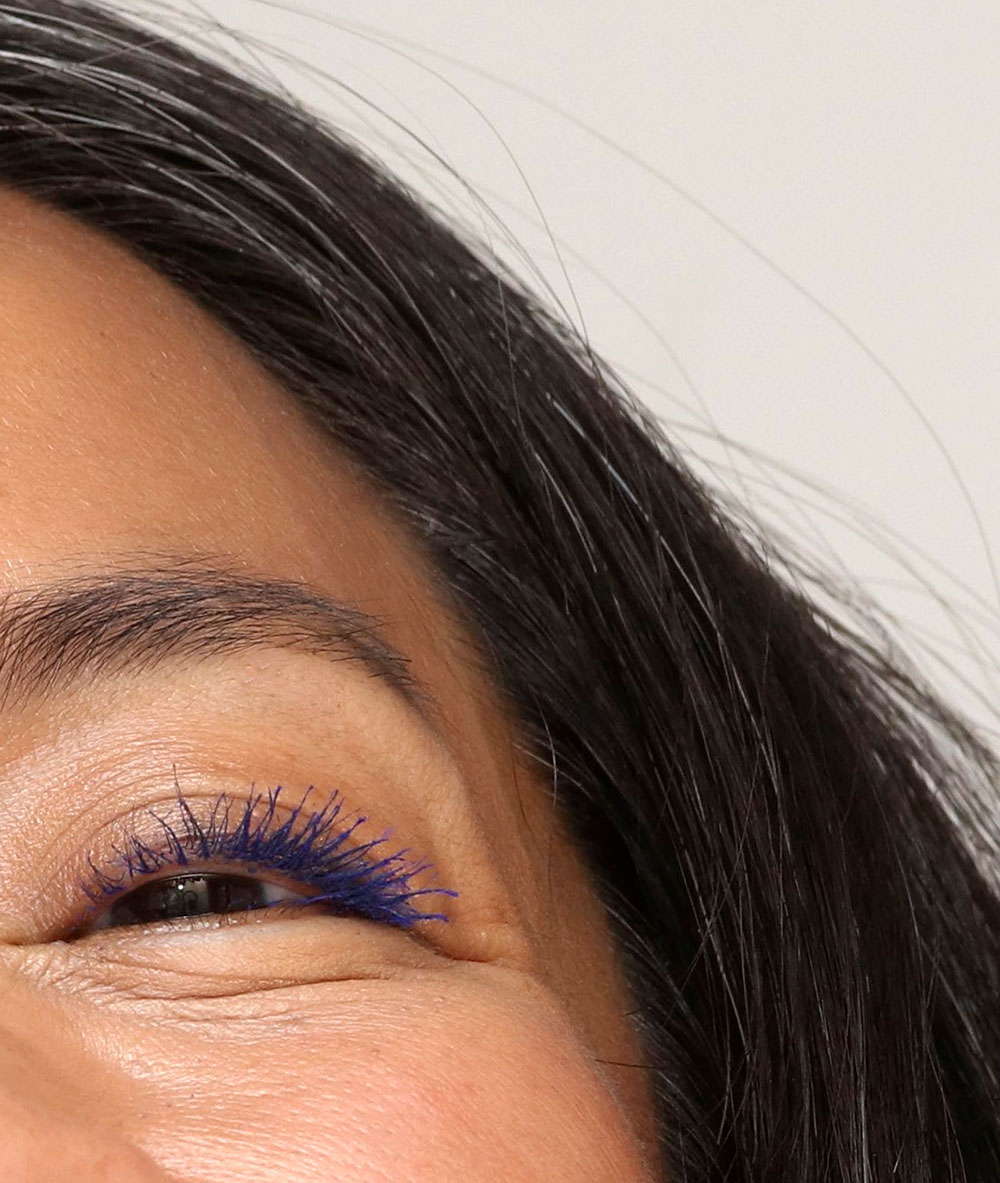
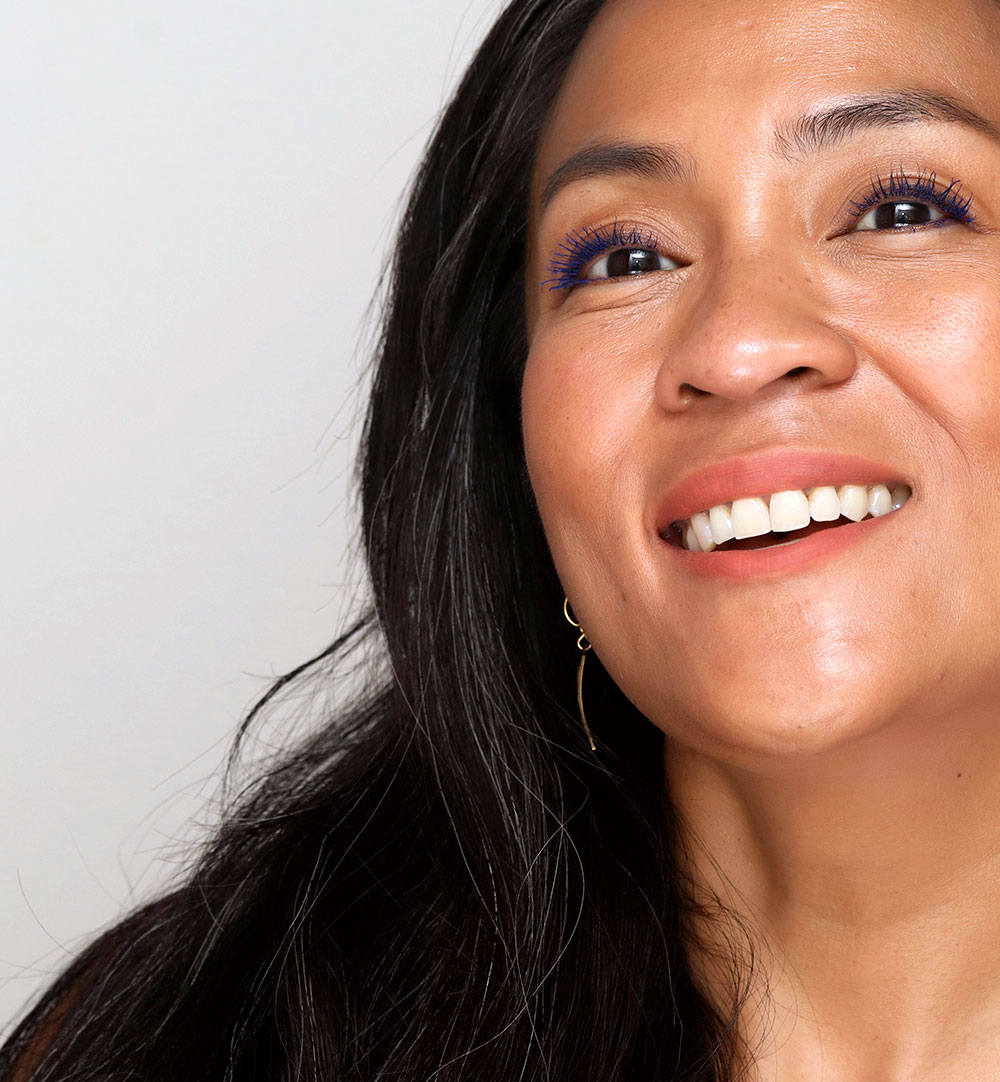
I’m also wearing Revlon Big Bad Lash Mascara, which has lots of curl and lift, but not a ton of volume, and the ColorStay Eyeliner in Brown, too.
Your friendly neighborhood beauty addict,
Karen
P.S. I hope you’re having a great Wednesday so far.